
When a client deadline is close, a soft image can become a real bottleneck. You may be preparing a proposal, refreshing a landing page, exporting social ads or sending final files for approval, then one photo looks blurry enough to make the whole project feel unfinished.
The goal is not to turn a poor image into a studio-quality original. The goal is simpler: sharpen the image online for free, check whether the result is client-safe and deliver the cleanest possible version without losing time to software installs or complicated editing panels.
This workflow is built for that exact situation. It helps you decide what is worth fixing, how to sharpen quickly and what to inspect before you attach the final file.
What you can realistically fix before the deadline
AI sharpening is most useful when the image already contains enough visual information but lacks crispness. That often happens after compression, resizing, screenshots, small focus errors or exporting from older design files.
It cannot fully recreate details that were never captured. If a face is heavily motion-blurred, a product label is unreadable or a logo was exported at a tiny size, sharpening may improve the impression but not make the asset perfect. Knowing that difference saves time because you can either fix the file quickly or escalate early.
| Image problem | Good fit for online sharpening? | Deadline advice |
|---|---|---|
| Slight camera softness | Yes | Sharpen and compare at final display size |
| Compression blur from messaging apps | Usually | Use the best available copy before uploading |
| Low-resolution web image | Sometimes | Sharpen, then use a smaller placement if needed |
| Motion blur on faces or hands | Limited | Try once, then request a replacement if details stay smeared |
| Tiny raster logo | Limited | Use a vector or original logo file if available |
| Blurry screenshot text | Sometimes | Sharpen carefully and check readability at 100% zoom |
For deadline work, avoid endless tweaking. Run one clean enhancement, inspect the before and after preview and decide whether the result improves the deliverable enough to send.
The 10-minute workflow for client-safe sharpening
The fastest way to fix a soft image is to remove every unnecessary decision. Use the best source file, sharpen it, inspect it, then export a file that fits the client use case.
- Save the original first: Keep an untouched copy before you change anything. If the client asks for a different direction later, you need a clean fallback.
- Choose the best available file: Use the highest-resolution version you can find. Avoid screenshots of images when the original JPG, PNG or WEBP is available.
- Upload it to a browser-based sharpener: With ImageSharpen, you can sharpen blurry images online without signing up or installing software.
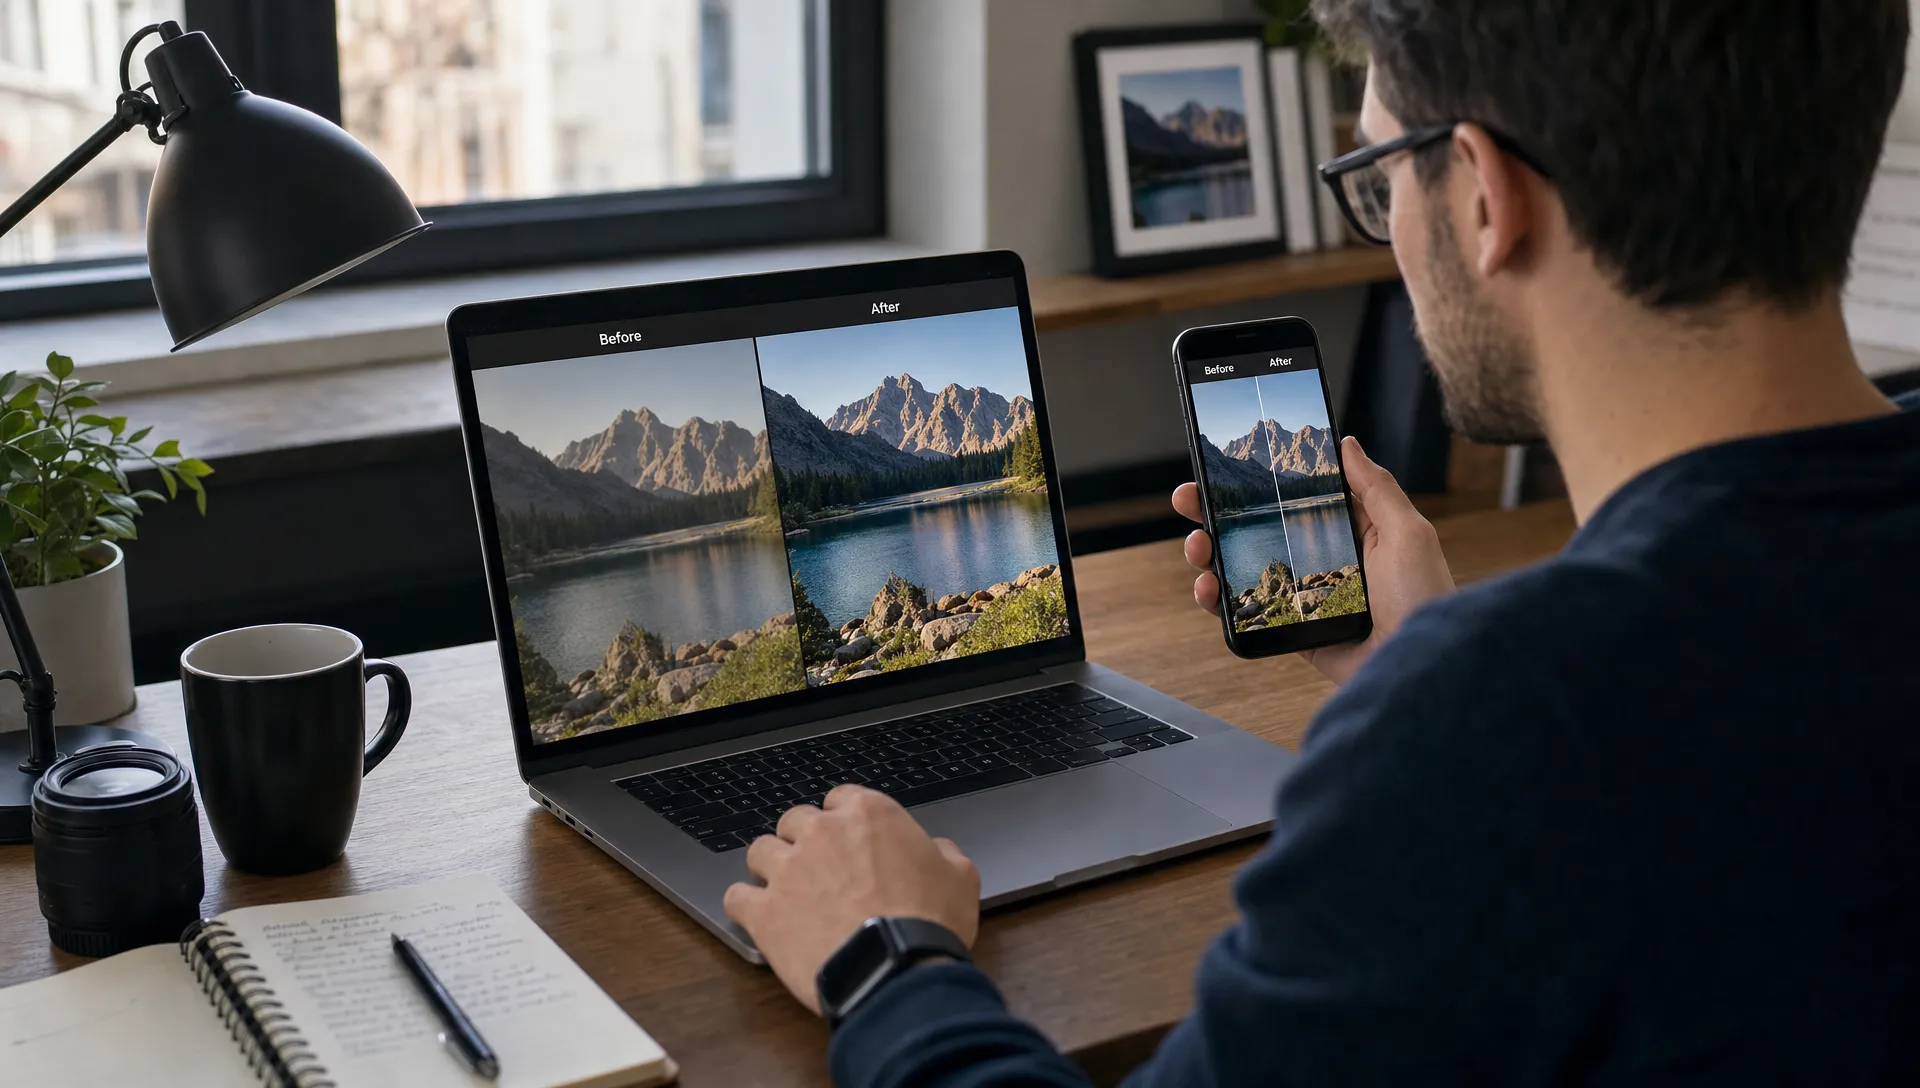
- Use the before and after preview: Look for clearer edges, cleaner details and more readable text, not just a sharper-looking thumbnail.
- Download and rename the file clearly: Add a practical suffix such as client-photo-sharpened.jpg so the improved file does not get confused with the original.
ImageSharpen supports JPG, PNG and WEBP files, handles uploads up to 20MB and is designed for fast browser use, including mobile browsers. That matters when you are away from your main workstation or reviewing assets between meetings.
The tool can also boost resolution up to 4x, which helps when a client provides a small asset that needs to look cleaner in a larger placement. Use that option with judgment. A resolution boost can make a file easier to use, but the final check should always happen in the design, document or web page where the image will actually appear.
Start with the delivery context, not the tool
Before sharpening, ask one practical question: where will the client see this image?
A photo that looks acceptable in a small website card may still look poor as a full-width hero image. A headshot for a proposal PDF may need clean eyes and hair detail, while a product photo may need sharper edges, texture and packaging text. A screenshot may only need readable UI labels.
If you are preparing public website imagery for a local service client, such as a page for a dentist in Pakenham, clarity affects trust. Clinic photos, team portraits and service images should look polished, but you should also be careful with sensitive or private imagery. If a file contains personal, medical or confidential information, follow the client’s approval process before using any online workflow.
For ecommerce work, product clarity usually has a direct impact on perceived quality. If the image is soft but the product is otherwise usable, a focused workflow to make a product photo clearer without a reshoot can help you recover the asset before asking the client to shoot again.
Match the sharpening approach to the asset type
Different client assets fail in different ways. A single sharpening pass may work for all of them, but your review criteria should change depending on the job.
| Client asset | What to inspect first | What can go wrong if overprocessed |
|---|---|---|
| Website hero image | Faces, key subject edges and background noise | Grain, crunchy skin texture or visible halos |
| Product image | Label text, product outline and surface texture | Artificial edges or exaggerated packaging lines |
| Social media creative | Main subject and readable text at mobile size | Oversharpened compression artifacts |
| Proposal or slide image | Professional appearance at presentation size | Harsh contrast that distracts from the message |
| Logo file | Edge smoothness and transparent background quality | Jagged borders, pixelated curves or print issues |
| Screenshot | Text readability and UI borders | Bright halos around text and icons |
Logos need special caution. If a client sends a small PNG logo and asks for print-ready output, sharpening may make the preview look better but it will not replace a proper vector file. For that situation, follow a logo-specific process to sharpen a logo for printing and request the original brand files when possible.
The quality checks that matter before you send it
A sharpened image can look impressive in a small preview and still fail in the final layout. Always inspect it in the context where the client will approve it.
Open the sharpened file at 100% zoom first. Check faces, hands, product edges, text, logos and any high-contrast borders. These are the areas where oversharpening is easiest to notice. If you see glowing outlines around objects or crunchy noise in flat areas, the file may look artificially enhanced.
Next, place the sharpened image into the final destination. For a website, preview it at desktop and mobile sizes. For a presentation, view the slide in full-screen mode. For a PDF, export a test version and zoom to the size the client is likely to use.
Use this quick approval checklist before delivery:
- The image looks clearer than the original at the final display size
- Faces, product details or text still look natural
- No obvious halos appear around high-contrast edges
- The file format matches the deliverable, such as JPG for photos or PNG for transparency
- The filename clearly separates the sharpened version from the original
If you are updating a broader visual asset, sharpening may only be one part of the fix. Color, exposure, compression and dimensions can also affect the final result. For a wider cleanup workflow, use this guide on how to improve image quality online without Photoshop.
What to do if the sharpened result is still not good enough
Sometimes the best deadline decision is to stop editing and manage the risk. If the sharpened file still looks weak, you have several client-safe options.
Ask for the original file instead of the version sent through a chat app. Messaging platforms often compress images heavily, which can create blur and artifacts. If the client has the camera original, exported design file or source brand asset, that version will usually sharpen better.
You can also reduce the display size. A photo that fails as a full-width banner may work well as a smaller supporting image. In a layout, thoughtful cropping and scale can protect quality without pretending the asset is perfect.
If the image is truly unusable, say so clearly and early. A short message such as, the supplied file improves slightly after sharpening but remains too soft for the hero section, can prevent a last-minute rejection. Offer a practical alternative: use it smaller, swap in another approved image or deliver the design with a placeholder while the client provides a better asset.
Free online sharpening vs opening a desktop editor
Desktop editing tools are powerful, but they are not always the right answer minutes before delivery. The right choice depends on how much control you need and how much time you have.
| Need | Free online AI sharpening | Desktop editor |
|---|---|---|
| Fast blur improvement | Best choice | Possible, but slower |
| No installation | Yes | Usually no |
| Detailed manual retouching | Limited | Best choice |
| Batch creative editing | Limited | Better for complex workflows |
| Client emergency from mobile | Strong fit | Usually inconvenient |
| Pixel-level masking | Not the goal | Best choice |
For many deadline fixes, the online route is enough. You upload, preview, download and move on. Save desktop editing for jobs that need detailed retouching, masking, compositing or precise print production.
Frequently Asked Questions
Can I sharpen an image online for free right before sending it to a client? Yes. If the blur is moderate, a free AI sharpener can improve clarity in seconds. Always inspect the result at the final display size before sending it.
Will sharpening reduce image quality? Good sharpening can make edges and details clearer, but too much sharpening can create halos, grain or harsh texture. Use the before and after preview and avoid sending files that look artificial.
What file should I upload for the best result? Upload the highest-resolution original you have. A camera file, original export or uncompressed asset will usually work better than a screenshot or image saved from a messaging app.
Can AI sharpening fix a badly blurred photo? It can improve some blurry photos, but it cannot perfectly restore details that were never captured. If the result is still unclear, ask the client for a better source file or use the image at a smaller size.
Is online sharpening enough for print files? Sometimes, but print work is less forgiving than web use. Check dimensions, resolution and file format carefully. For logos, request a vector file whenever possible.
Sharpen the image, check it, deliver with confidence
A client deadline is not the time for guesswork. Use a clean original, sharpen the image once, compare the result and review it in the final layout before delivery.
If you need a fast no-sign-up option, open ImageSharpen, upload your JPG, PNG or WEBP file and download a clearer version after previewing the result. It is a simple way to turn a soft client asset into a more polished deliverable when every minute counts.