
A digital photo frame can make an old favorite picture feel new again, but it can also expose every bit of blur, noise and poor cropping. Photos that looked fine in your phone gallery may appear soft once they rotate across a 10-inch tabletop screen or a larger wall-mounted display.
The good news is that you do not need professional editing software to prepare a sharper slideshow. If you want to make photos clearer for a digital photo frame, the best approach is simple: start with the best source file, match the frame’s screen shape, sharpen the image before uploading and export it in a format the frame can display cleanly.
This guide walks through the practical workflow, including AI sharpening, resizing, aspect ratio choices and common mistakes that make frame photos look blurry.
Why Photos Look Blurry on a Digital Photo Frame
Digital frames are small screens, but they are not magic screens. They display the pixels you give them, often after resizing or compressing the file through an app, memory card or cloud service. If the original image is soft, heavily cropped or too low in resolution, the frame may stretch it to fit. Stretching makes blur more obvious.
The most common causes are:
- The photo was sent through a messaging app that compressed it.
- The subject was slightly out of focus when the photo was taken.
- The image was cropped too tightly, leaving too few pixels.
- The frame is forcing a vertical image into a horizontal layout.
- The file was dark, noisy or shot indoors without enough light.
- The frame’s transition or display settings are zooming into the image.
Before you edit anything, check whether the image itself is blurry or whether the frame is displaying it poorly. Open the file on a laptop or phone, zoom to 100 percent and look at faces, text, hair, edges and background details. If those areas are already soft, sharpening can help. If the photo looks clear on your device but blurry only on the frame, the issue is probably sizing, compression or display settings.
Start With the Best Version of the Photo
The easiest way to make photos clearer is to avoid editing a damaged copy. Many people save photos from texts, social apps or email previews, then wonder why they look fuzzy on a frame. Those versions may be smaller than the original file.
Look for the highest quality source available. On a phone, use the original from your camera roll or cloud library rather than a screenshot. On a computer, use the full-size download instead of a thumbnail. For scanned family photos, scan at a high resolution and avoid saving the same file repeatedly at low quality.
If you are preparing a gift frame for a parent, grandparent or family event, this step matters more than people expect. A full-resolution photo from the original phone can preserve skin texture, fabric detail and background clarity that a forwarded image has already lost.
For photos that are already blurry, you can use a browser-based workflow like this guide on how to make a blurry photo clear for free before adding the final image to your frame.
Match the Frame’s Resolution and Aspect Ratio
Every digital photo frame has a native screen resolution and aspect ratio. Resolution is the pixel count, such as 1280 by 800 or 1920 by 1080. Aspect ratio is the shape, such as 4:3, 16:9 or 16:10.
When your photo does not match the screen shape, the frame has to make a choice. It may add black bars, crop the edges or stretch the image. Cropping can cut off heads, pets, text or important background details. Stretching can make the whole photo look distorted and less sharp.
Use this table as a starting point, but always check your frame’s manual or app settings for the exact native resolution.
| Common frame screen | Aspect ratio | Good export size to try | Best for |
|---|---|---|---|
| 1024 x 768 | 4:3 | 1024 x 768 or 2048 x 1536 | Older family photos and compact frames |
| 1280 x 800 | 16:10 | 1280 x 800 or 2560 x 1600 | Many 10-inch tabletop frames |
| 1920 x 1080 | 16:9 | 1920 x 1080 or 3840 x 2160 | Widescreen frames and wall displays |
| 1920 x 1200 | 16:10 | 1920 x 1200 or 3840 x 2400 | Higher quality wide frames |
You do not always need to export at exactly the native size. Sending a slightly larger, clean image can give the frame more detail to work with, especially if it applies its own resizing. Sending a much larger file does not always improve the result, though. Some frames compress large files aggressively, which can undo your editing.
Use AI Sharpening Before Uploading to the Frame
AI sharpening is useful because digital frame photos often have mild focus blur, motion blur or softness from compression. Traditional sharpening mostly boosts edge contrast. AI sharpening can do a better job of restoring perceived detail in faces, objects, text and textures, as long as the original photo still contains enough visual information.
With ImageSharpen, you can upload a JPG, PNG or WEBP image, sharpen it in the browser and download an enhanced version without installing software or creating an account. The tool is designed for quick AI image sharpening, unblurring and resolution improvement, which makes it practical when you are preparing a whole batch of slideshow images.
A good workflow is:
- Upload the highest quality version of the photo.
- Use AI sharpening to improve clarity and restore edge detail.
- Check the before and after preview for natural-looking results.
- Download the enhanced image.
- Crop and resize the file to match your frame.
- Test a few images on the frame before processing the full set.
If your photo was taken in a dim room, fix the low-light issues first. Dark photos often contain both blur and noise, and sharpening noise can make the image look gritty. For those images, this guide on how to make low-light photos clearer using AI is a helpful next step.
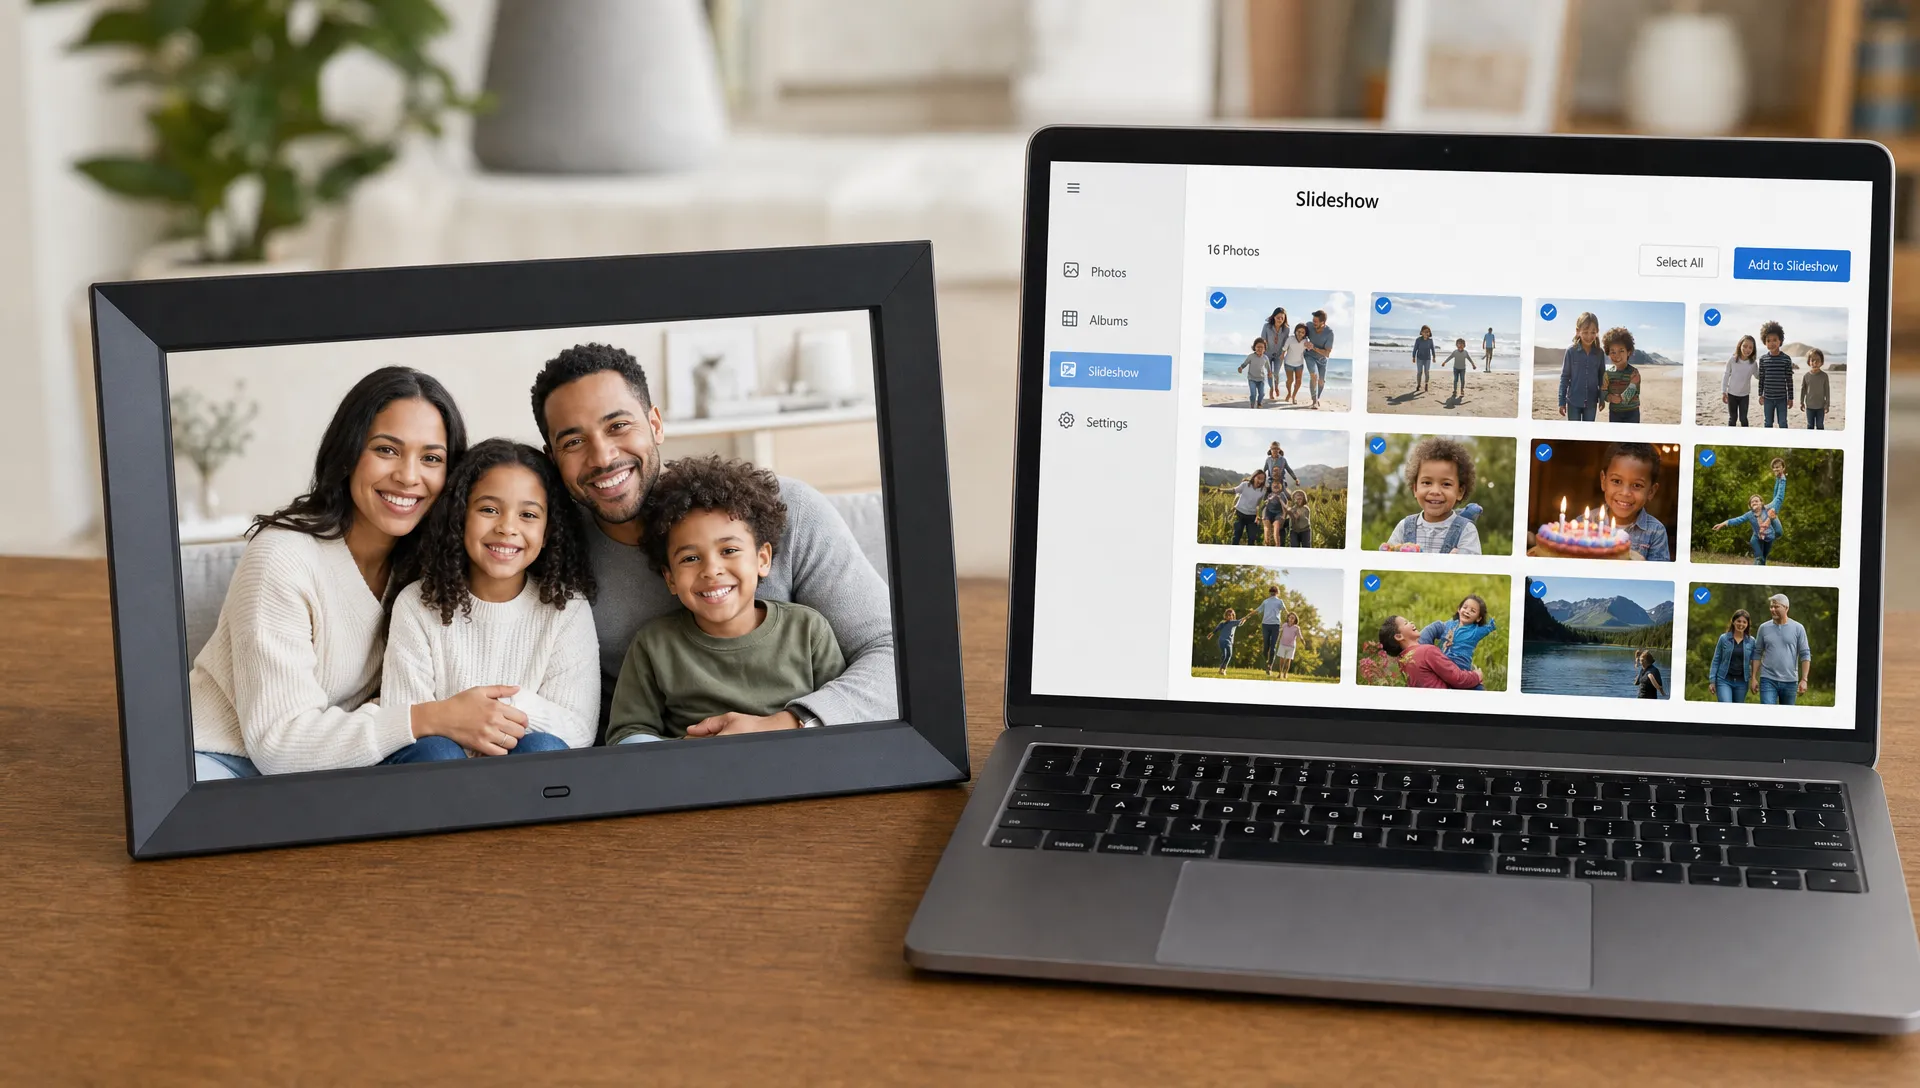
Crop for the Screen, Not Just the Subject
Cropping is where many digital frame slideshows lose quality. A tight crop may look great on a phone, but it can leave too few pixels for the frame. It can also force the frame to zoom further, which makes softness more visible.
For horizontal frames, landscape photos usually look best. Portrait photos can still work, but they may appear with side bars unless the frame has a portrait orientation mode. If your frame will sit vertically, prepare vertical crops. If it will sit horizontally, create horizontal versions of your most important vertical images when possible.
When cropping people, leave a little breathing room around heads, shoulders and hands. Digital frames often apply subtle zoom effects or transition animations. Extra space helps prevent awkward cuts during playback.
For group photos, prioritize faces over background. For travel shots, decide whether the person or the place matters more. For old family photos, preserve the full print border only if it adds meaning. Otherwise, crop out blank scanner space and sharpen the actual image area.
Choose the Right File Format and Quality
Most digital frames work best with standard JPG files. JPG is widely supported, compact and usually ideal for photographic images. PNG can be useful for graphics, text or images with flat colors, but it often creates larger files. WEBP is efficient, but not every digital frame supports it.
ImageSharpen supports JPG, PNG and WEBP uploads, but your frame may be more limited. If you are not sure what your frame accepts, export final slideshow images as high-quality JPG. Avoid repeatedly opening and resaving the same JPG, since each save can add compression artifacts.
A practical export setting is high quality rather than maximum quality. Maximum quality can create huge files with little visible benefit on a small screen. If your frame has a file size limit or slow loading, oversized files may cause delays.
Fix Different Types of Digital Frame Photos
Not every picture needs the same treatment. A scanned wedding portrait, a dog photo taken indoors and a landscape from a recent vacation all have different clarity problems.
| Photo type | Common issue | Best fix before uploading |
|---|---|---|
| Old scanned prints | Dust, faded detail, soft focus | Scan cleanly, crop borders, sharpen gently |
| Phone portraits | Compression, skin softness, motion blur | Use AI sharpening, avoid over-smoothing faces |
| Pet photos | Motion blur, indoor noise | Pick the sharpest frame, brighten if needed, sharpen lightly |
| Travel landscapes | Haze, tiny detail, compression | Enhance clarity, resize to screen ratio, avoid harsh sharpening |
| Text or document photos | Small lettering, angled capture | Straighten, sharpen, crop tightly enough for readability |
Business and office frames need the same care. A contractor, showroom or retail desk may use a digital frame as a small rotating portfolio. For example, a company showing container offices, pools or delivery photos from a supplier such as Lease Lane Containers would want crisp images so visitors can understand the details from several feet away. The same rule applies to home slideshows: clarity depends on preparing the file for the screen, not just choosing good-looking photos.
Avoid Over-Sharpening
Sharpening should make a photo look clearer, not crunchy. Over-sharpened images often show bright halos around faces, tree branches, buildings or text. Skin can look rough, shadows can become noisy and backgrounds can look unnatural.
To avoid this, view the enhanced photo at the size it will appear on the frame. If you judge only by zooming in too far, you may over-edit details that nobody will notice during a slideshow. For portraits, pay close attention to eyes, hairlines and teeth. Those areas should look defined but not artificial.
If an image is badly out of focus, AI can improve it, but it cannot recreate a perfect photo from missing information. In those cases, choose a smaller crop, use the image as part of a collage or replace it with a sharper alternative if you have one.
Test a Small Batch Before Editing Everything
Before you process 300 family photos, prepare 10 to 15 images and load them onto the frame. Include different types: a portrait, a group shot, a landscape, an old scan, a low-light photo and a vertical image. Let the slideshow run for a few minutes.
Check for these problems:
- Faces look too soft or too sharp.
- Important parts are cropped off.
- Vertical photos display awkwardly.
- Colors look too dark on the frame.
- Large files load slowly.
- The frame adds black bars you do not want.
This test batch tells you whether your export size, crop style and sharpening level are working. Once the settings look good, you can apply the same approach to the rest of the slideshow.
A Simple Workflow to Make Photos Frame-Ready
If you want the fastest reliable process, follow this order: choose the best file, sharpen it, crop it, resize it, export it, then test it. Doing the steps out of order can reduce quality. For example, if you crop too aggressively before sharpening, the AI has fewer pixels to work with. If you resize too small before sharpening, the final result may look cleaner but less detailed.
For most digital frames, this workflow works well:
- Collect original files from phones, cameras, cloud libraries or scans.
- Remove duplicates and obvious rejects.
- Use AI sharpening to make the keeper photos clearer.
- Crop to the frame’s aspect ratio.
- Resize close to the screen resolution or up to about 2x if the frame handles it well.
- Export as high-quality JPG unless your frame requires another format.
- Load a test batch, review on the actual frame and adjust.
If you are preparing images for both a digital frame and large physical prints, use separate exports. A frame file is optimized for a screen. A print file needs more pixels and different sharpening decisions. For print-specific preparation, see this guide to make pictures clearer before printing them at large sizes.
Frequently Asked Questions
What resolution should photos be for a digital photo frame? Use your frame’s native resolution as the main guide. Common examples include 1024 x 768, 1280 x 800 and 1920 x 1080. Exporting at the native size or about 2x that size often works well, but test your specific frame because some devices compress large files.
Can AI really make digital frame photos look sharper? Yes, AI sharpening can improve soft edges, mild blur and compressed details. It works best when the original photo still has recognizable detail. It cannot fully repair a photo that is extremely out of focus or heavily damaged.
Should I crop photos before or after sharpening? In most cases, sharpen first using the highest quality image, then crop for the frame’s aspect ratio. If the photo has large blank borders from scanning, crop those away before sharpening so the tool focuses on the actual picture.
Is JPG or PNG better for a digital photo frame? JPG is usually better for normal photos because it is widely supported and keeps file sizes manageable. PNG is more useful for graphics or images with text, but some frames may load large PNG files slowly.
Why do my phone photos look blurry only on the frame? The frame may be cropping, stretching, compressing or zooming the image. Check the frame’s display settings, then export the photo in the correct aspect ratio and resolution.
Make Your Digital Frame Slideshow Look Sharper
A digital photo frame should feel effortless once it is set up. The preparation is what makes the difference. Use original files, avoid tight crops, match the screen shape and sharpen before uploading.
If you need a quick way to make photos clearer before loading them onto a frame, try ImageSharpen. Upload your image in the browser, compare the before and after preview and download a clearer version for your slideshow without sign-up or software installation.