
Large prints are unforgiving. A photo that looks sharp on a phone can turn soft on a poster, canvas or framed enlargement because printing stretches every pixel, blur mark and compression artifact across a bigger physical space.
To make pictures clearer before printing them at large sizes, focus on the full print path: source quality, pixel dimensions, upscaling, sharpening, export settings and proofing. AI sharpening can help a lot, but the best results come from using it at the right point in the workflow rather than treating it as a last-minute fix.
Why large prints expose blurry pictures
Screens hide more than people realize. A phone image is small, backlit and often automatically sharpened by the display. When that same image becomes a 16 x 20 wall print, the viewing experience changes. Fine details need to hold up without a glowing screen, and weak edges become easier to see.
Large printing also magnifies three common problems. Low resolution creates blocky or smeared detail. Camera shake creates soft edges across the whole image. Heavy compression, especially from messaging apps or social media downloads, adds mushy textures and square artifacts that become visible in smooth areas like skies, walls and skin.
The goal is not to make every file look artificially crisp. Good print sharpening should restore definition in important details while keeping skin, shadows and backgrounds natural.
Start with the final print size
Before you sharpen anything, decide how large the print will be. The same image might be excellent for an 8 x 10 print and weak for a 24 x 36 poster. Print clarity depends on pixel dimensions and viewing distance, not just the file size in megabytes.
A simple formula helps:
Required pixels = print size in inches x desired PPI
PPI means pixels per inch. For close-view prints, 300 PPI is a common high-quality target. For posters or banners viewed from several feet away, 150 to 200 PPI can still look good because the viewer is not inspecting tiny detail from inches away. Your print provider may have its own requirements, so treat these numbers as planning guidance rather than a fixed rule.
| Final print size | Pixel target for close viewing | Practical note |
|---|---|---|
| 5 x 7 inches | 1500 x 2100 pixels at 300 PPI | Suitable for small framed photos |
| 8 x 10 inches | 2400 x 3000 pixels at 300 PPI | A strong target for portraits and gifts |
| 12 x 18 inches | 3600 x 5400 pixels at 300 PPI | Good for detailed wall photos viewed close |
| 16 x 20 inches | 3200 x 4000 to 4800 x 6000 pixels | 200 to 300 PPI depending on viewing distance |
| 24 x 36 inches | 3600 x 5400 to 4800 x 7200 pixels | 150 to 200 PPI is often workable for posters |
If your image is far below the pixel target, sharpening alone is not enough. You will likely need to upscale the file first, then sharpen it after the new size is created.
Use the best source file you can find
The fastest way to improve a large print is to avoid starting from a damaged copy. Look for the original camera file, the highest-resolution export or the version that has not been uploaded to a social platform. Avoid screenshots, thumbnails, forwarded message attachments and images saved repeatedly at low quality.
If you are working from a phone photo, export the original file instead of sending it through an app that compresses images. If you are working with a scan, scan again at a higher resolution when possible. For old printed photos, a careful scan often gives AI tools more real detail to work with than a quick phone snapshot under uneven lighting.
When the image is already blurry, start with a repair workflow before making print decisions. The process in this guide to make a blurry picture clear online is useful when you need to improve a soft file in the browser before preparing the final print.
Make pictures clearer in the right order
The order matters. If you sharpen too early, then resize, crop and compress the file afterward, you can soften the improvement or create artifacts that become obvious in print.
Use this print-friendly sequence:
- Open the highest-quality source file: Start from the largest clean version available, not a screenshot or social media download.
- Choose the final crop ratio: Match the print size before enhancement so you do not sharpen areas that will be cut off.
- Adjust exposure and contrast first: A dark, flat image can look muddy even when sharpened, so fix basic tone before increasing detail.
- Upscale when the file is too small: Increase resolution before final sharpening so the enhancement is applied to the print-ready size.
- Sharpen at or near final size: Apply sharpening after resizing to improve edge clarity where it will actually print.
- Export once at high quality: Repeated saving can reduce detail, especially with JPEG files.
With ImageSharpen, you can upload JPG, PNG or WEBP files directly in your browser, sharpen blurry images with AI, boost resolution up to 4x and compare the before and after result before downloading. The tool is free to use, does not require signup and supports uploads up to 20 MB, which makes it practical for quick print preparation on desktop or mobile.
AI sharpening works best when it has enough useful detail to recover. It can often improve mild blur, soft focus and low-resolution edges, but it cannot fully rebuild detail that was never captured, such as a face that is tiny, heavily compressed or hidden by strong motion blur.
Match the fix to the type of blur
Not all blur behaves the same way. Before you run an enhancer, zoom in to 100 percent and identify what is actually wrong with the file. This helps you set realistic expectations and avoid over-processing.
| Image problem | What it looks like | Best print-prep response |
|---|---|---|
| Slight soft focus | Edges look gentle but recognizable | AI sharpening usually helps |
| Low resolution | Details look small, smeared or blocky | Upscale first, then sharpen |
| Camera shake | Edges streak in one direction | AI may improve mild shake, but severe shake may remain visible |
| Motion blur | Moving subject is stretched or ghosted | Works only if blur is moderate and key details remain visible |
| Compression artifacts | Patchy textures or square blocks | Use a better source if possible, then sharpen carefully |
| Noise or grain | Speckles in shadows or smooth areas | Reduce noise before strong sharpening when possible |
The most common mistake is treating every unclear image with more sharpness. If the file is noisy, compression-heavy or underexposed, aggressive sharpening can make those flaws stronger. Clear prints come from balancing detail with smoothness.
Sharpen differently for different print types
A family portrait, a business banner and a fine-art landscape do not need the same treatment. The right amount of sharpening depends on material, viewing distance and the parts of the image that carry meaning.
For close-view framed photos, prioritize natural detail. Eyes, hair, clothing texture and important foreground elements should look defined, but skin should not become rough or gritty. Zoom in to inspect faces, then zoom out to judge whether the full image still feels natural.
For posters and wall art, the normal viewing distance is often farther away. You can usually tolerate slightly lower pixel density, but big flat areas like skies, painted walls and studio backdrops reveal artifacts quickly. If the image contains text, inspect every letter at full size before ordering.
For canvas prints, remember that texture softens fine detail. Canvas can be forgiving for mild blur, but it can also hide tiny features. A little extra edge clarity may help, especially in landscapes and architectural images. Do not oversharpen noise in shadows, because canvas texture can make noisy areas look busier.
For logos, icons and graphics, vector artwork is the best choice whenever you have it. If all you have is a low-resolution raster image, AI sharpening can improve edges for print, but it cannot turn a poor logo file into a true vector file. If your large print includes a brand mark, this guide on how to sharpen a logo for printing covers logo-specific checks that photos do not require.
For retail signage, catalogs or tradeshow graphics, image clarity is often part of a larger workflow involving product data, approvals and file delivery. If those assets are tied to ERP or inventory systems, mid-market teams may also look at AI automation and NetSuite consulting to reduce manual handoffs between product data and production workflows.
Watch for over-sharpening before you print
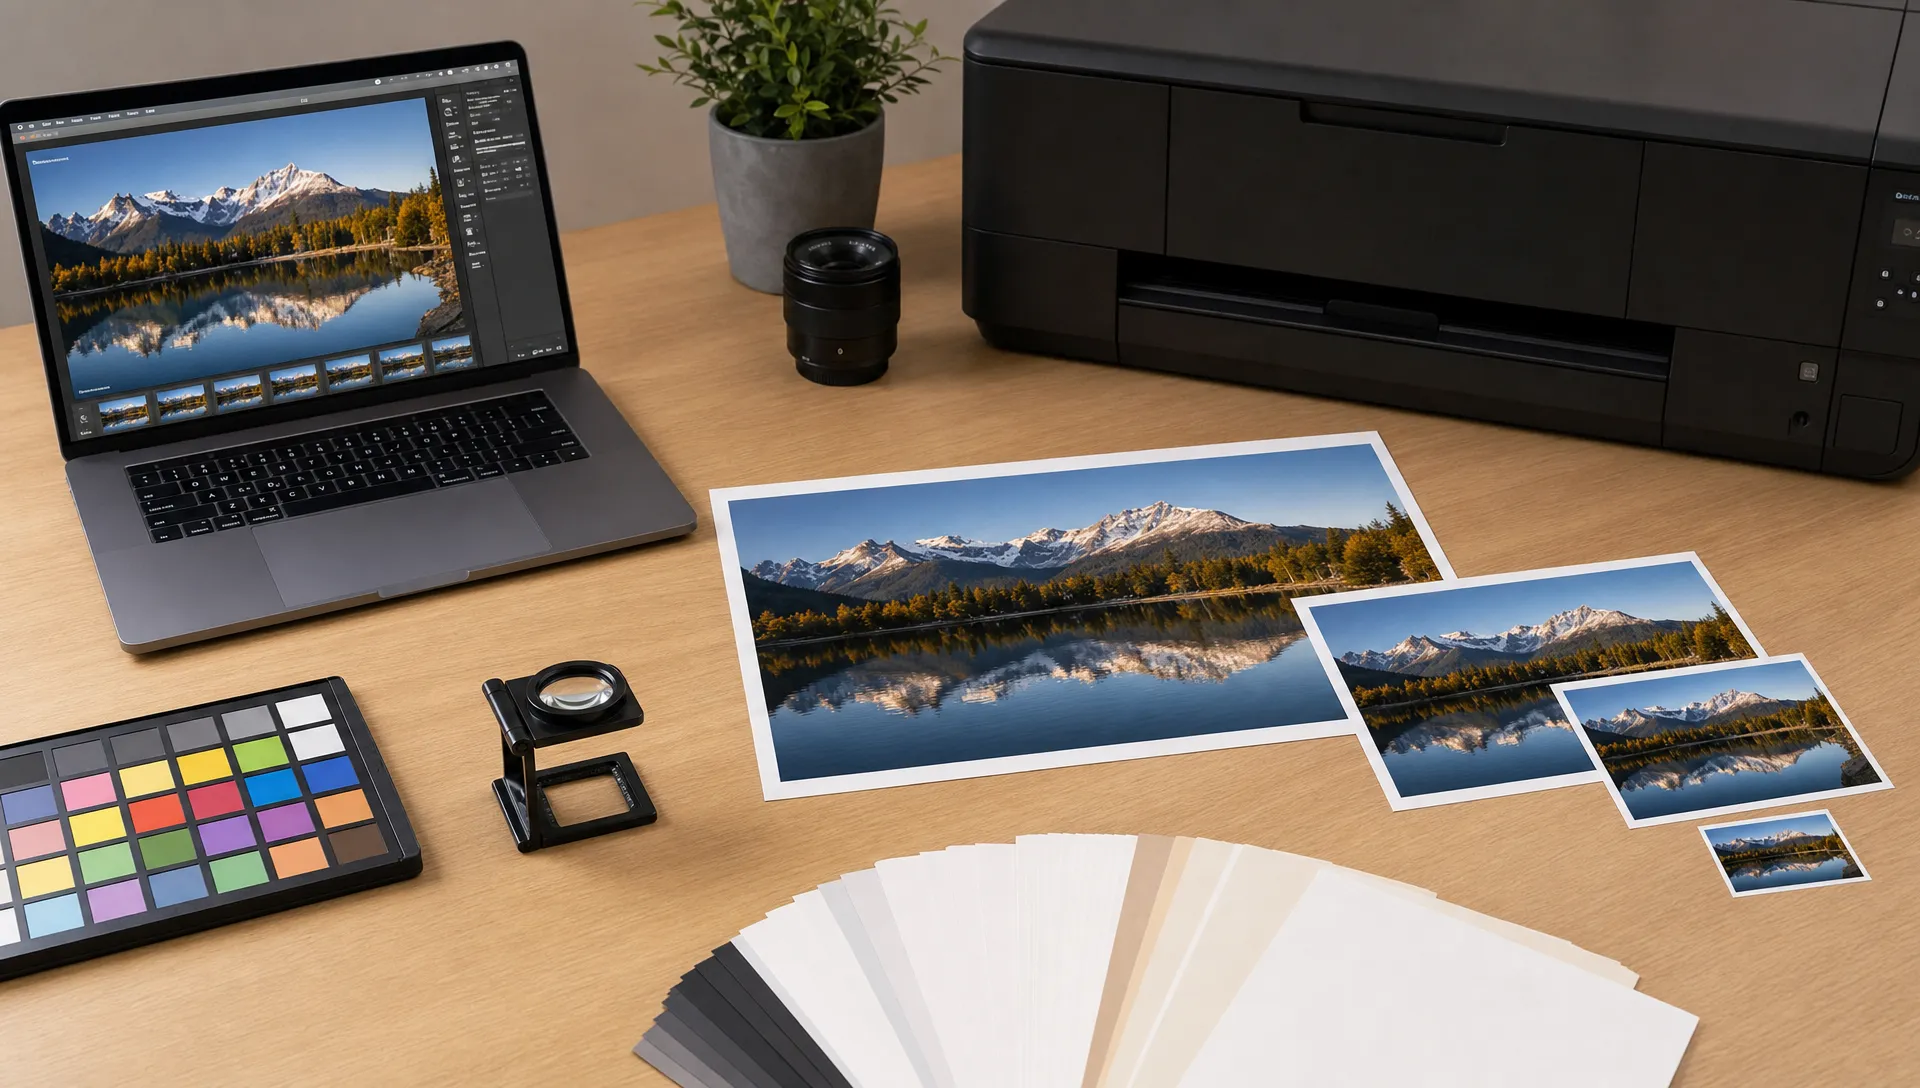
Over-sharpening often looks good for a second on screen, then disappointing on paper. The image may have bright halos around edges, crunchy skin texture, jagged diagonal lines or unnatural detail in backgrounds that should stay smooth.
To check for halos, zoom to 100 percent and look along high-contrast borders such as hair against sky, a building against a bright wall or dark text on a light background. If you see glowing outlines, the print may look harsh. For portraits, inspect under the eyes, around the nose and across cheeks. If pores or noise look exaggerated, reduce the strength by returning to a cleaner source or avoiding repeated enhancement passes.
A useful habit is to step away from the screen. View the image at roughly the distance it will be seen after printing. A 24 x 36 poster does not need to survive inspection from three inches away if it will hang on a wall. At the same time, a small framed portrait held in the hand needs much cleaner close-up detail.
Check color, format and file delivery settings
Sharpening fixes clarity, not color management. A crisp image can still print poorly if the file is too dark, too saturated or saved in the wrong format for your printer.
Many consumer print labs accept high-quality JPEG files in sRGB color. Professional printers may request TIFF, PDF, CMYK conversion, embedded color profiles, bleed or specific dimensions. Always check the upload instructions before exporting the final version. Guessing can cause unexpected cropping, dull colors or rejected files.
Keep these basic rules in mind:
- Use the print provider's recommended file format and color profile.
- Avoid sending a file through messaging apps after enhancement, since many apps compress images.
- Save a master copy separately so you can return to it if the print provider requests changes.
- Check the final file dimensions after export, not just before editing.
Aspect ratio is another common issue. An 8 x 10 print is not the same shape as a 4 x 6 photo, so the printer may crop part of the image. Set the crop yourself so important faces, text or product details are not cut off automatically.
Print a proof before ordering large or expensive prints
A proof does not have to be the full-size product. For a large wall print, you can print a small crop at actual size to inspect detail. Choose an area with fine texture, faces, text or edges. If that crop looks good, the full print is more likely to hold up.
For high-value jobs, order one smaller test print or ask the print shop about proofing options. This is especially useful for wedding photos, gallery prints, product displays and signage where color and clarity both matter. A proof can reveal issues that a monitor hides, including shadow detail loss, oversharpened edges and unexpected cropping.
If you plan to enhance several images, use the same process on all of them so the final set feels consistent. A photo wall with one crisp image beside several soft ones will make the weaker files more noticeable.
Pre-print clarity checklist
Use this checklist before uploading your file to the printer. It is faster to catch problems now than to reorder a large print later.
| Check | What to confirm | Why it matters |
|---|---|---|
| Final size | Print dimensions and crop ratio are correct | Prevents unwanted cropping |
| Pixel dimensions | File is large enough for the intended print size | Avoids soft or blocky enlargement |
| Source quality | You used the original or cleanest available file | Gives sharpening more real detail to work with |
| Upscaling | Resolution was increased before final sharpening | Keeps edge detail aligned with print size |
| Sharpness | Important details look clear at 100 percent | Confirms the enhancement worked |
| Artifacts | No halos, jagged edges or noisy backgrounds | Prevents an artificial printed look |
| Color | Brightness and color profile match printer guidance | Reduces surprises on paper |
| Export | Final file is saved once at high quality | Avoids unnecessary compression loss |
If you are unsure whether a file is worth enhancing, review the practical checks in 7 Checks Before Using a Photo Quality Enhancer before spending time on print prep.
Frequently Asked Questions
How do I make pictures clearer before printing at a large size? Start with the highest-resolution source file, crop to the final print ratio, upscale if the file is too small, then sharpen at or near the final print size. Check the result at 100 percent and make a proof before ordering a large print.
How many pixels do I need for a large print? Multiply the print size in inches by the desired PPI. For example, an 8 x 10 print at 300 PPI needs about 2400 x 3000 pixels. Larger posters viewed from a distance may look good at 150 to 200 PPI.
Can AI sharpening make a low-resolution image printable? AI sharpening and upscaling can improve many low-resolution images, especially when the original still contains recognizable detail. It cannot fully restore detail that was lost through extreme blur, tiny cropping or heavy compression.
Should I sharpen before or after resizing for print? Sharpen after resizing or upscaling. If you sharpen first and enlarge later, the enlargement can soften the effect or exaggerate artifacts. Final sharpening should match the size you plan to print.
What file format should I use for printing a sharpened image? Follow your print provider's instructions. High-quality JPEG is common for consumer photo labs, while professional print shops may request TIFF, PDF or specific color settings.
Prepare your large print with a clearer file
Large prints reward careful preparation. Check the final size, use the cleanest source file, upscale when needed and sharpen only enough to bring back believable detail.
If you want a quick browser-based way to improve clarity, upload your JPG, PNG or WEBP file to ImageSharpen. You can sharpen blurry images, boost resolution up to 4x, preview the before and after result and download a cleaner file without signup or software installation.