
Scans, documents and old photos usually look blurry for different reasons. A scanned contract may have soft text because the page moved. A faded family print may lack contrast because the paper has aged. A receipt may look muddy because the phone camera compressed it. If you want to make a picture clearer, the best results come from improving the capture first, then applying sharpening with restraint.
That order matters. Sharpening can restore edge definition and make fine detail easier to see, but it cannot recover information that was never captured. A strong workflow combines clean scanning, sensible file choices and a final AI enhancement pass so the image looks clearer without looking artificial.
Start With a Cleaner Scan or Capture
The easiest sharpening win happens before you use any software. Clean the scanner glass, flatten the page or photo and remove dust with a soft brush if the material can safely be handled. For phone captures, place the item on a flat surface near soft daylight, hold the camera parallel to the document and avoid casting a shadow across the page.
The best way to make a picture clearer is to give the sharpening tool real edges to work with. A crooked, dim or compressed capture forces the tool to enhance noise along with useful detail. A clean original gives you more room to improve clarity later.
For documents, a scan at 300 dpi is a practical starting point for normal text. Use 600 dpi for small type, signatures, stamps or pages you may need to crop. For old photographs, 600 dpi often gives restoration tools more detail to evaluate, especially if you plan to print or enlarge the result.
Use the Right File Settings Before Sharpening
File format and compression can affect the final result as much as the sharpener itself. If your scanner lets you choose, save important scans as PNG or a high-quality JPG. Avoid repeatedly exporting the same image as JPG, since each save can add compression artifacts around letters, faces and borders.
For phone images, check whether your device is saving heavily compressed copies through a messaging app or cloud preview. Whenever possible, use the original camera file instead of a screenshot or forwarded image. Screenshots are often lower resolution than the original image, and messaging apps may resize photos automatically.
Here is a simple guide for common materials:
| Material | Better capture choice | Sharpening priority | What to avoid |
|---|---|---|---|
| Typed documents | 300 to 600 dpi scan, straight page | Crisp text edges | High contrast that fills in letters |
| Receipts | Bright phone photo or scan | Readable totals and dates | Shadows and reflective glare |
| Old portraits | 600 dpi scan, gentle cleaning | Natural facial detail | Over-sharpened skin texture |
| Certificates | Flatbed scan if possible | Fine lines and signatures | Crooked perspective |
| Newspaper clippings | 600 dpi scan | Text separation | Boosting paper grain too much |
How to Make a Picture Clearer Without Creating Artifacts
Sharpening improves local contrast around edges. That is why letters, eyelashes, printed lines and borders can suddenly appear more defined. The risk is that aggressive sharpening also makes dust, paper texture, JPEG blocks and scanner noise more visible.
A good rule is to sharpen until the important detail becomes readable, then stop. If white halos appear around black text or faces start to look crunchy, the image has gone too far. For documents, zoom to 100 percent and check letters like “e,” “a” and “o.” If their inner spaces are closing up, reduce the intensity or start from a cleaner scan.
AI tools can help because they analyze the image content rather than simply increasing edge contrast everywhere. Still, judgment matters. The same principle matters for teams designing AI features: trust is built when the tool shows what changed and gives users control, a theme covered in the AI Product Adoption Deck for teams shipping AI products.
Sharpening Tips for Scanned Documents
When you need to make a picture clearer for reading, treat text differently from photographs. Text benefits from straight lines, balanced contrast and minimal background clutter. Start by rotating or cropping the scan so the page is level. Even a small tilt can make text look less sharp because each line steps diagonally across pixels.
Next, adjust brightness and contrast lightly before sharpening. Yellowed paper may need a small brightness lift, but do not push it so far that pencil marks, stamps or faint signatures disappear. If the page contains both typed text and handwriting, check the handwriting after every adjustment because thin ink lines can vanish quickly.
For documents that need to be printed, download the enhanced file at the highest quality available. If you use ImageSharpen, you can upload JPG, PNG or WEBP files up to 20MB, preview the before and after result and download the enhanced version without installing software or signing up.
Fixing Receipts, Forms and Low-Quality Copies
Receipts and forms are tricky because they often include thermal paper, gray backgrounds, folds or uneven lighting. Before sharpening, crop out tables, countertops and other distractions. This helps the enhancement focus on the actual document area rather than unnecessary edges.
If a receipt is photographed at an angle, perspective correction should come before sharpening. Many phone photo apps can straighten a rectangular page. After the page is square, sharpening becomes more effective because the text strokes have a consistent width.
For very faint receipts, try two versions: one with a brightness boost before sharpening and one with sharpening first. Compare the date, merchant name, total and tax line. The most useful version is the one that preserves readable information, not necessarily the one that looks most dramatic.
Restoring Old Photos Without Making Them Look Fake
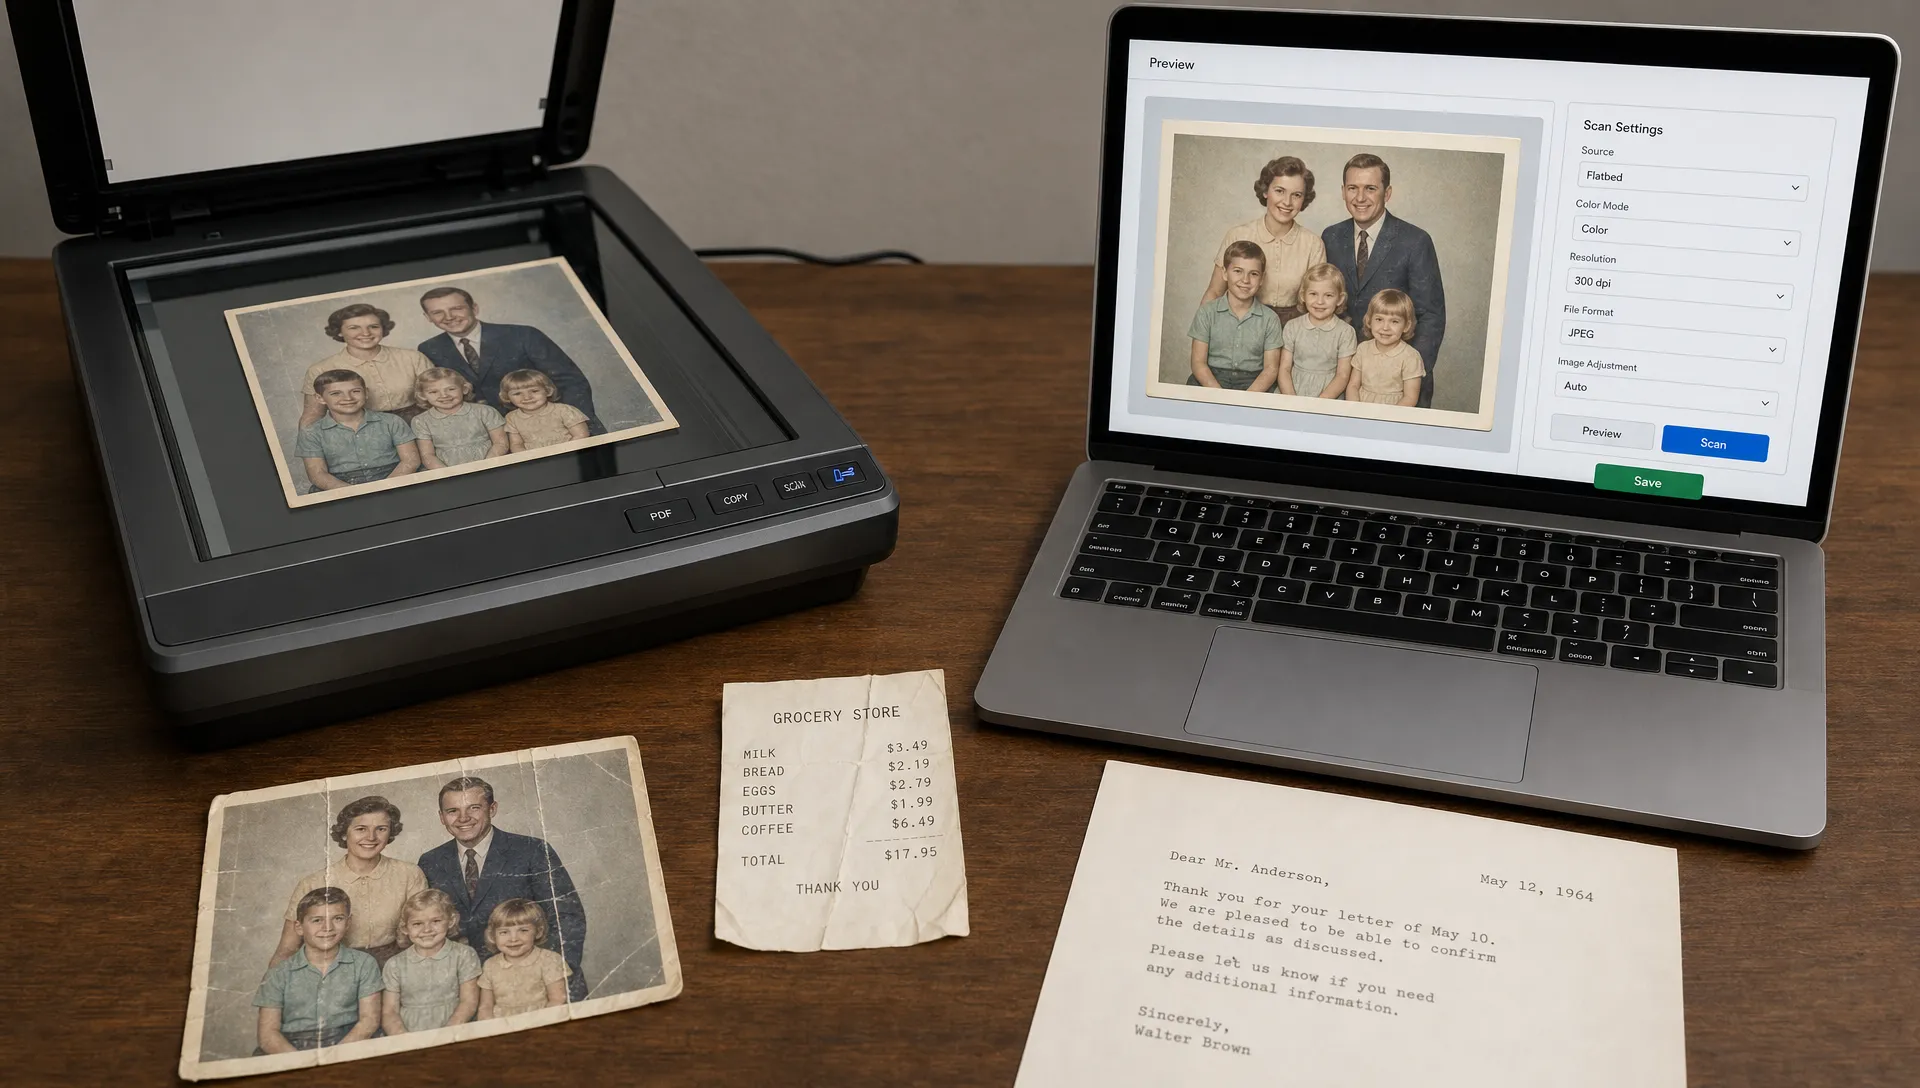
Old photos need a softer touch than documents. A portrait from a family album may be slightly faded, scratched or grainy, but those qualities are part of the original material. The goal is usually to restore clarity while preserving the person’s expression, clothing texture and natural lighting.
To make a picture clearer without making an old photo look artificial, sharpen facial features less aggressively than you would sharpen printed text. Eyes, hair and clothing edges can benefit from added definition, but skin often looks worse when every pore, paper fiber and scratch is emphasized.
If the photo has dust or scratches, remove the largest distractions before sharpening when possible. Sharpening first can make small scratches more visible. For deeper guidance on vintage prints, ImageSharpen has a dedicated guide on how to use a photo enhancer online to restore vintage prints.
Choose the Right Order: Clean, Enhance, Sharpen, Export
A reliable workflow keeps each step focused. First, clean the capture by cropping, straightening and removing obvious distractions. Second, improve exposure and contrast if needed. Third, sharpen or enhance detail. Finally, export in a format that fits the use case.
If your goal is to make a picture clearer for archiving, keep an untouched original file and save the enhanced copy separately. This gives you a safe backup if you later want to try a different enhancement method. For family history projects, naming files clearly, such as “grandparents-wedding-original” and “grandparents-wedding-enhanced,” prevents confusion later.
For quick browser-based enhancement, you can use the free AI image sharpener to sharpen blurry images, boost resolution up to 4x and compare the result with a before and after preview. This is especially helpful when you are testing several scans and want to choose the cleanest version.
Common Sharpening Mistakes to Avoid
Over-sharpening is the most common problem. It creates bright outlines around text, harsh edges on faces and noisy backgrounds. If the image starts to look like a photocopy of a photocopy, step back and reduce the effect.
Another mistake is sharpening a tiny file and expecting it to behave like a high-resolution scan. AI upscaling can improve a small image, but a better source file still matters. If you still have the original print or document, rescanning it usually beats trying to rescue a compressed thumbnail.
Do not judge clarity only from a zoomed-out view. A document may look cleaner on screen but fail when printed because text edges have become jagged. A portrait may look sharp at full size but unnatural when zoomed in. Check the image at the size where it will actually be used.
Quick Checklist Before You Download
Use this checklist before saving the final version:
- The page or photo is straight and properly cropped.
- Important text, dates, faces or signatures are easy to see.
- There are no strong halos around letters or high-contrast edges.
- Skin, paper texture and background grain still look natural.
- The enhanced file is saved separately from the original.
This final check only takes a minute, but it protects you from exporting an image that looks impressive at first glance and flawed during real use.
Frequently Asked Questions
Can AI make a picture clearer if the scan is very blurry? AI can often improve softness, mild motion blur and low resolution, but it cannot perfectly rebuild missing detail. If you have access to the original document or print, rescan it first for the best result.
Should I sharpen documents before or after converting them to PDF? Sharpen the image before creating the PDF when possible. This gives you more control over clarity, file quality and cropping before the document is packaged.
Is 300 dpi enough for old photos? For basic viewing, 300 dpi may be acceptable. For restoration, enlarging or archiving, 600 dpi is usually a better starting point because it captures more fine detail from the print.
Why does my sharpened scan have white outlines around text? White outlines usually mean the sharpening is too strong or the scan has too much contrast. Reduce the sharpening level, start from a higher-quality scan or try enhancing the image more gently.
Make Your Next Scan Easier to Read and Preserve
When you make a picture clearer, the goal is not maximum sharpness at any cost. The goal is useful clarity: readable documents, natural old photos and clean files that hold up when printed, shared or archived.
Start with the best scan or capture you can create, avoid heavy compression and use AI sharpening as the finishing step. With that workflow, even faded prints, soft documents and low-quality copies can become clearer without losing their original character.