
If you need to enhance image quality free before posting, printing, selling or sharing a photo, you no longer need a powerful computer or a paid editing suite. A browser-based AI sharpener can restore detail, reduce blur and improve resolution from a phone, tablet, laptop or shared computer.
The key is not just choosing a tool. It is starting with the best file you have, avoiding unnecessary compression and checking the result before you download it. With a simple workflow, most everyday blurry images can look cleaner in seconds without creating an account or installing software.
How to enhance image quality free on any device
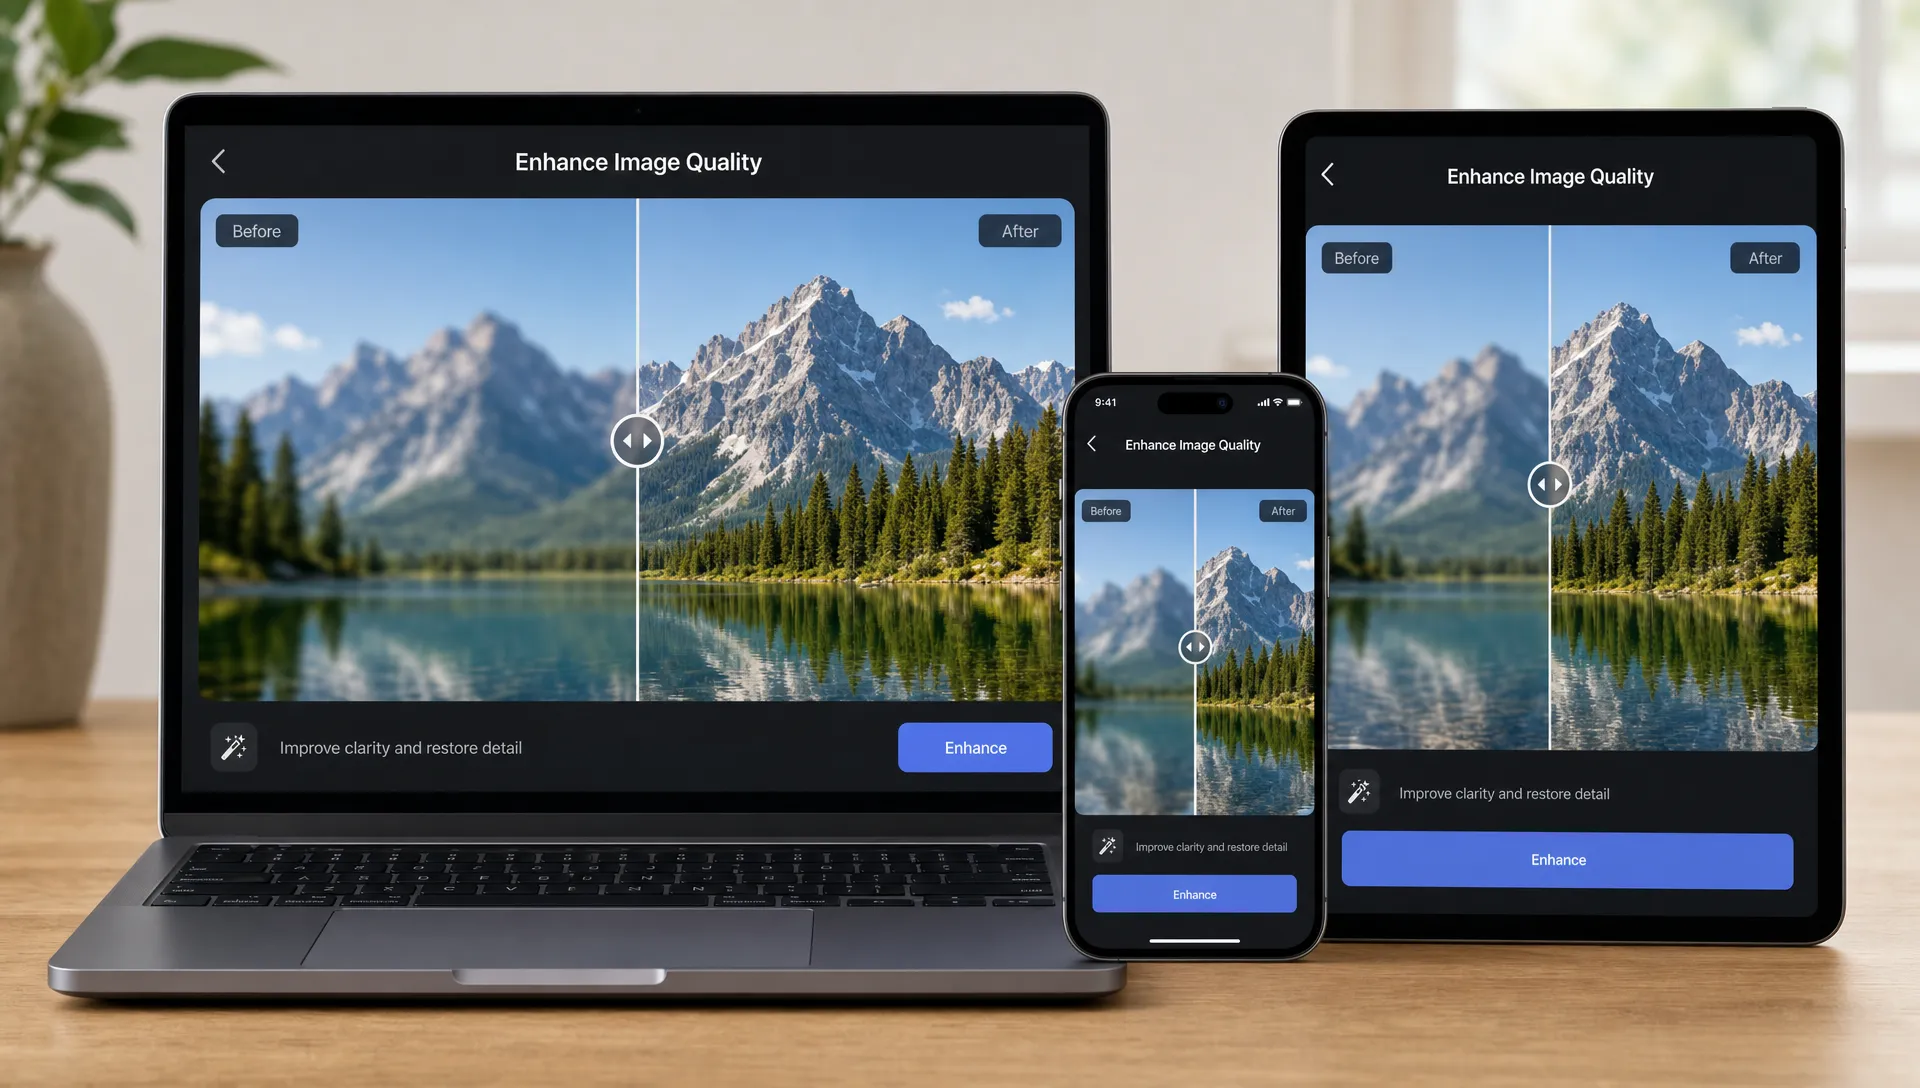
The easiest approach is to use an online AI enhancer that works directly in your browser. ImageSharpen is built for that kind of quick repair: upload a JPG, PNG or WEBP file, let the AI sharpen and enhance it, compare the before and after preview, then download the improved image. It supports files up to 20MB, offers a 4x resolution boost and does not require sign-up.
This matters because image quality problems often happen at inconvenient moments. A product photo looks soft right before you publish it. A travel picture is blurry after being sent through a messaging app. A scan of an old family photo lacks crisp detail. In those cases, the fastest useful tool is the one you can open immediately on the device in front of you.
What free AI enhancement can realistically fix
AI enhancement works best when the photo already contains some usable information. It can sharpen edges, recover local contrast, make text or product details easier to see and improve low-resolution images for everyday use. It can also make a photo more presentable after mild motion blur, soft focus or social media compression.
It cannot fully recreate detail that was never captured. A tiny crop from a distant subject, a severely shaken night photo or a face hidden by heavy blur may improve, but it will not become a forensic-level reconstruction. The best results come from pairing the AI tool with a realistic expectation: you are improving a file, not replacing the original scene.
If you want to enhance image quality free and get the cleanest output, always start with the original photo rather than a screenshot, thumbnail or compressed copy from a chat app. Every extra save can discard detail that the enhancer would otherwise use.
| Image problem | Likely improvement | Best starting file |
|---|---|---|
| Slight camera shake | Sharper edges and clearer subject detail | Original camera image |
| Low resolution | Larger, cleaner output with better structure | Highest available export |
| Social media compression | Reduced softness and improved clarity | Pre-upload version if available |
| Old scanned photo | Clearer facial features and texture | High-resolution scan |
| Severe blur | Partial improvement, limited detail recovery | Any original file available |
Device-by-device workflow
The workflow is similar across devices, but small habits make a noticeable difference. A desktop gives you easier file management, a phone is faster for camera roll repairs and a tablet is convenient for reviewing details on a larger touch screen.
On iPhone or Android
Open the enhancer in your mobile browser and upload the photo directly from your camera roll. If your phone asks whether to upload a smaller version, choose the original or full-size option when available. Avoid enhancing a screenshot of the photo unless that is truly the only file you have.
Mobile browser support is useful for quick fixes because you can repair the image right where it was taken. For example, you can sharpen a product shot before listing it, clean up a menu photo before sharing it or improve a document photo before attaching it to an email.
On a laptop, desktop or Chromebook
On a computer, drag or select the image file from your downloads folder, desktop, cloud storage sync folder or memory card. This is often the best setup when you need to compare multiple versions because the larger screen makes artifacts easier to spot.
If you are on a work computer where software installs are blocked, a browser tool is also simpler. You can enhance image quality free without asking for admin access, waiting for a download or learning a complex editor. For a broader no-Photoshop workflow, this guide on how to improve image quality online without Photoshop explains the basic upload-and-enhance process in more detail.
On tablets
Tablets are especially helpful for visual review. Use pinch-to-zoom to inspect faces, text, hair, fabric, product edges or architectural lines before downloading. If the result looks too crisp in one area, compare it against the preview instead of judging the enhanced version alone.
Keep the result natural, not overprocessed
A sharp image is not always a better image. Over-enhancement can create crunchy edges, waxy skin, halos around objects or strange textures in flat areas like walls and skies. The goal is clarity that still looks believable.
Before downloading, zoom in to 100 percent when possible and inspect the parts that matter most. For portraits, check skin texture, eyes, hairlines and teeth. For product photos, check logos, seams, labels and reflective surfaces. For documents, check whether letters became clearer or developed jagged outlines.
When you enhance image quality free for a real-world purpose, judge the image at the size where people will actually see it. A photo for an online listing does not need to survive extreme zooming. A picture intended for a print, portfolio or client delivery deserves a stricter review.
Watch for common artifacts
Artifacts are small visual errors created during enhancement. They are not always obvious at first glance, but they can make an image feel fake once noticed. Look for bright outlines around high-contrast edges, repeated textures in grass or hair, smudged facial detail and unnatural sharpening in the background.
If an image looks overdone, try enhancing a better source file instead of repeatedly processing the same output. Reprocessing an already sharpened image often amplifies noise and creates a harsher result.
Choose the right file before you upload
The file you upload has a major effect on the final result. A full-resolution camera image gives the AI more detail to work with than a small copy saved from a messaging app. If you have several versions, choose the largest file with the least compression.
For old printed photos, scan them at a high resolution if you can. If you are photographing the print with a phone, use even lighting, keep the camera parallel to the photo and avoid reflections. A clean starting capture usually matters more than trying several tools later.
You should also think about the final use. If you only need a clearer social post, a fast browser enhancement is usually enough. If you are preparing a large print, keep the original file, download the enhanced version and compare both on a calibrated screen if available.
| Final use | Recommended check before download | Why it matters |
|---|---|---|
| Social media | View at normal feed size | Prevents over-editing for a small display |
| Online store | Zoom into product labels and edges | Buyers rely on detail to judge condition |
| Family archive | Compare faces and background texture | Keeps the image natural for long-term saving |
| Document photo | Read the smallest important text | Clarity matters more than style |
| Client preview | Check full image and close detail | Avoids visible artifacts in professional work |
When sharpening is enough and when you need upscaling
Sharpening improves perceived clarity by making edges and fine details more defined. Upscaling increases the pixel dimensions of the image, which helps when a file is too small for its intended use. Many low-quality photos need both: sharpening to clean up softness and upscaling to create a larger, more useful download.
ImageSharpen combines AI sharpening with a resolution boost, which is useful when you need a better version quickly. If your main issue is small image size rather than blur, this guide to a free AI image upscaler without sign-up covers that use case more directly.
There is also a difference between enhancing an existing image and generating a new one. Product teams, designers and marketers sometimes need both workflows: enhancement for real photos, generation for mockups or campaign assets. If you are evaluating generation tools for that side of the process, Impulse Lab has a practical guide to choosing image generation tools for product teams that focuses on cost, brand consistency and workflow fit.
A quick checklist for better results
Before you upload, spend 30 seconds checking the file. That short pause can save you from a weak output and repeated attempts.
- Use the original image whenever possible.
- Avoid screenshots, thumbnails and images forwarded through chat apps.
- Make sure the file format is supported, such as JPG, PNG or WEBP.
- Check that the most important subject is not completely hidden by blur.
- Preview the result before downloading and inspect it at a realistic size.
This checklist is especially helpful when you enhance image quality free on a small screen. Phone displays can make images look sharper than they really are, so zooming in and using the before and after view helps you catch problems before you save the final file.
Common use cases across everyday devices
A free online enhancer is most useful when speed and accessibility matter. Students can clean up photographed notes, sellers can improve marketplace photos, families can restore older snapshots and creators can prepare sharper visuals for posts without opening a professional editor.
For client work, enhancement can also act as a rescue step when you receive a slightly soft asset and the deadline is too close for a reshoot. It will not replace good photography, but it can turn a borderline image into something usable for a draft, presentation or web update.
If blur is the main issue, the process is similar but the expectations are a little different. Mild blur can improve dramatically, while severe motion blur may only become moderately clearer. For that situation, see this guide on how to unblur an image for free without downloading software.
Frequently Asked Questions
Can I enhance image quality free on an iPhone or Android phone? Yes. Use a mobile browser, upload the original photo from your camera roll, preview the enhanced result and download the improved image. You do not need to install an app if the tool works online.
What file types work best for AI enhancement? JPG, PNG and WEBP are common choices. For best results, use the largest, least-compressed version you have rather than a screenshot or a copy sent through a messaging app.
Will enhancement make every blurry photo perfect? No. AI can sharpen mild blur, improve detail and boost resolution, but it cannot fully recover information that was never captured. Severe blur, tiny crops and very dark images may still have limits.
Is upscaling the same as sharpening? No. Sharpening improves edge clarity and detail, while upscaling increases image dimensions. A good photo enhancement workflow may use both when an image is soft and too small.
Try a fast browser-based enhancement
When you need a clearer photo without software, open ImageSharpen, upload your image and compare the before and after preview. It is a practical option for quick repairs on any device, especially when you want a sharper, higher-resolution download without signing up.