
A sharp social media photo feels intentional before anyone reads the caption. Faces look more confident, products look more trustworthy, food looks fresher and text in a carousel is easier to read. When a post looks slightly blurry, even if the idea is strong, viewers often read it as rushed.
A photo sharpener helps fix that problem before you upload. Instead of adding another filter, it improves edge definition and visible detail so the image looks clearer on small screens. For creators, small businesses, job seekers and casual users, it can be the difference between a photo that gets skipped and one that earns attention.
Why social media photos lose clarity
Most social media photos do not start out as professional studio shots. They come from phones, screenshots, shared files, cropped images or photos taken in imperfect light. Even a good phone camera can produce soft results when the subject moves, the lens is slightly smudged or the camera focuses on the background instead of the face.
Then the platform adds another layer of quality loss. Social apps compress images to make uploads faster and feeds lighter. If you upload a small file, crop too tightly or save the same image several times, the final version may look less crisp than it did in your camera roll.
Common causes of blurry social media photos include:
- Low light, which forces the camera to use slower shutter speeds
- Motion blur from shaky hands, moving pets, kids or crowds
- Cropping too much from a wide photo
- Sending images through messaging apps before posting
- Screenshots that were captured or resized at low resolution
- Old profile photos reused across multiple platforms
A photo sharpener is most useful when the image has enough information to recover. It cannot turn a completely unusable photo into a studio portrait, but it can make many slightly blurry or low-resolution images look much more publishable.
What a photo sharpener does to your image
A modern AI photo sharpener analyzes the image and enhances details that usually matter to viewers, such as eyes, hair, product edges, fabric texture, lettering and object outlines. It can also improve perceived resolution, which is especially helpful when the image will be cropped into a square post, vertical story or profile picture.
ImageSharpen is built for this type of quick cleanup. You can upload a JPG, PNG or WEBP file directly in your browser, sharpen the image, preview the before and after, then download a clearer version. It is free to use, requires no sign-up and supports uploads up to 20MB.
| Social media issue | How a photo sharpener helps | What to check before posting |
|---|---|---|
| Soft selfie or profile photo | Clarifies facial features and hair detail | Skin should still look natural |
| Cropped product photo | Restores edge definition and surface texture | Logos, labels and corners should not look harsh |
| Blurry event photo | Improves faces, clothing and background detail | Avoid over-enhancing noisy dark areas |
| Low-resolution post image | Boosts clarity for feed viewing | Confirm it still looks good after upload |
| Text in a graphic or screenshot | Makes letters easier to read | Check for jagged or glowing text edges |
The goal is not to make every pixel razor sharp. The best result is a photo that looks clean, natural and easy to understand when someone sees it quickly on a phone.
Which social media photos benefit most from sharpening?
Profile photos are one of the strongest use cases. On Instagram, TikTok, LinkedIn, YouTube and Facebook, profile images appear small in comments, search results and messages. A slightly sharper headshot can make your face easier to recognize without changing how you look.
Product and service photos are another major opportunity. If you sell on Instagram, Facebook Marketplace, Pinterest or your own site, blurry product details can make buyers hesitate. A clearer image helps shoppers understand texture, condition, color and quality. For more specific selling images, this guide on how to make a product photo clearer for free is a useful next step.
Social media screenshots can also benefit from sharpening, especially when you are sharing app results, testimonials, analytics, messages or tutorial steps. Text-heavy images need special care because too much sharpening can create rough edges around letters. If screenshots are a regular part of your content, see this walkthrough on how to sharpen a blurry screenshot.
Portraits need a lighter touch. A good enhancer should preserve skin texture rather than smooth every face into plastic. If your main goal is improving selfies, creator portraits or LinkedIn photos, this guide to a free online photo enhancer that keeps skin texture natural explains what to look for.
A simple workflow before you post
You do not need a complicated editing setup to make a social media photo clearer. A clean order of operations matters more than having dozens of tools.
- Start with the best original file: Use the original from your camera roll when possible, not a version saved from a messaging app or downloaded from a previous post.
- Fix major composition issues first: Straighten the photo, remove obvious distractions and decide whether the image works better as a square, portrait or vertical story.
- Sharpen before final upload: Upload the image to ImageSharpen, use the AI photo sharpener, then compare the before and after preview.
- Inspect the important areas: Zoom in on faces, product labels, food texture, clothing, logos or text. These are the details viewers notice first.
- Download and review on your phone: Social media is mostly mobile, so check the final image on a phone screen before posting.
If you want the fastest route, you can sharpen an image online for free without installing an app or creating an account. That is especially helpful when you need to fix a post quickly from a mobile browser.
Platform-specific photo sharpening tips
Each platform displays images differently, so the same photo may need a slightly different approach depending on where it will be published. A photo that looks perfect as an Instagram portrait may be cropped awkwardly as a LinkedIn preview or a Facebook cover-style image.
| Platform or use case | Best sharpening approach | Extra tip |
|---|---|---|
| Instagram feed | Sharpen faces, product edges and fine textures | Avoid heavy sharpening on skin and skies |
| Instagram Stories or Reels covers | Improve the subject before adding text | Keep key details away from interface areas |
| TikTok thumbnails | Make the main face or object stand out | Check readability at small size |
| LinkedIn profile or post | Keep the result clean and professional | Avoid filters that change skin tone too much |
| Facebook Marketplace | Clarify product condition and labels | Use multiple angles when possible |
| Pinterest pins | Sharpen product, decor, food or tutorial details | Make text overlays crisp but not jagged |
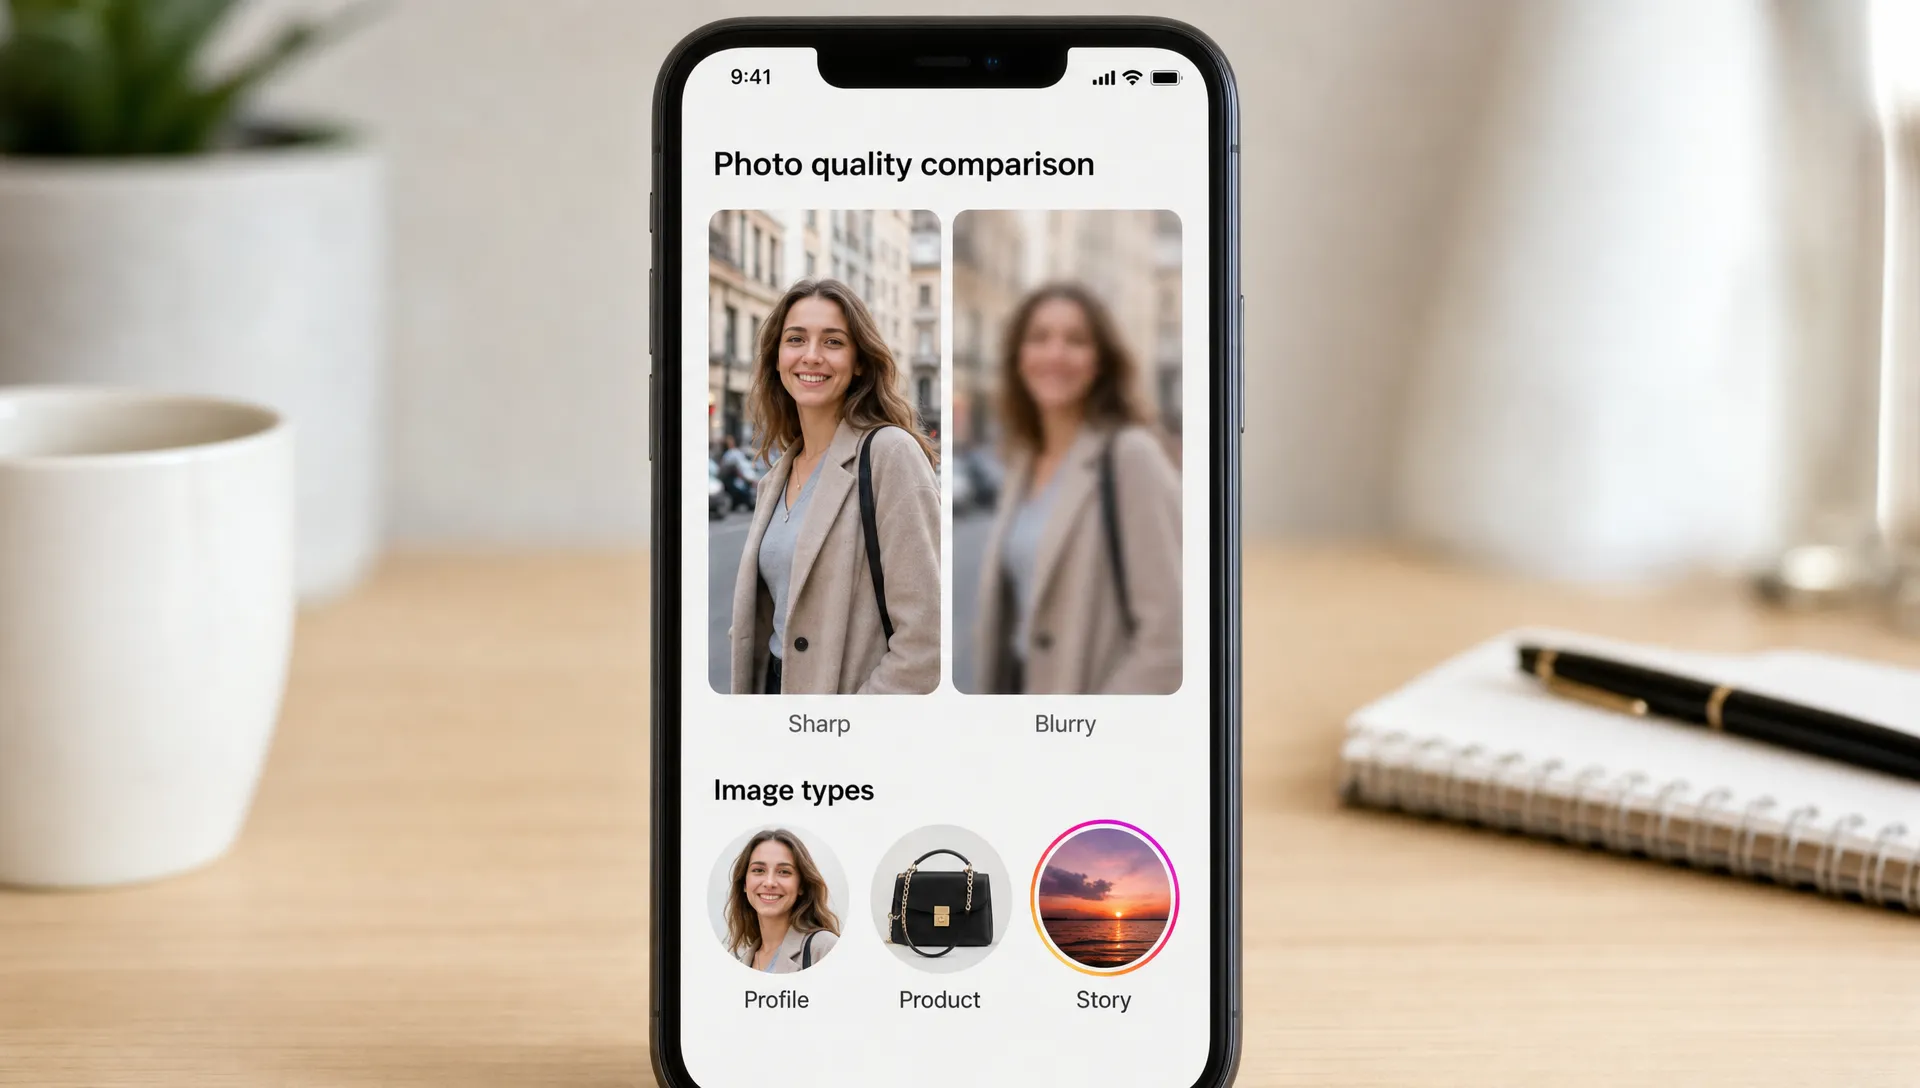
For profile photos and business posts, aim for credibility over drama. Strong contrast and heavy sharpening might grab attention for a second, but a natural-looking clear image usually performs better for trust.
How to avoid an over-sharpened social media photo
Over-sharpening is easy to spot. Skin starts looking gritty, hair can turn wiry, edges may glow and backgrounds can become noisy. On product images, packaging text may look harsh or artificial. On food photos, too much sharpness can make the image feel dry rather than appetizing.
The simplest check is to look at the photo at normal phone size, then zoom in. At normal size, the image should look cleaner. When zoomed in, important details should look improved without strange halos or crunchy texture.
Pay extra attention to these areas:
- Eyes, teeth and skin texture in portraits
- Logos, labels and price tags in product photos
- Text overlays in carousels and screenshots
- Dark backgrounds, where noise can become more visible
- Fine repeating patterns, such as fabric, hair or grass
If the sharpened version looks too intense, use a cleaner original if you have one, reduce other edits like contrast or saturation, or choose a less aggressively edited version for posting. Clarity should support the message of the image, not become the first thing people notice.
Make your visuals and copy feel consistent
Sharp photos help people stop scrolling, but the rest of the post still needs to feel polished. Captions, bios, profile summaries, outreach messages and customer replies all shape how people judge your page. A clear image with rushed writing can feel mismatched.
For business owners, freelancers and job seekers, it is worth treating visual cleanup and writing cleanup as part of the same workflow. If your social media post supports a job application, client pitch or formal request, an AI letter generator for professional letters can help you create polished written material to match your improved visuals.
A practical content workflow might look like this: choose the strongest photo, sharpen it, export the right size for the platform, write a clear caption, then preview the full post before publishing. This small habit reduces last-minute fixes and helps your page feel more consistent over time.
When should you reshoot instead of sharpening?
A photo sharpener can improve many images, but it is not always the right fix. If the subject is completely out of focus, the face is heavily obscured, the product label is unreadable or the photo is extremely dark, reshooting may save time.
Use sharpening when the image is almost right but lacks crispness. Reshoot when the image fails at the basics: bad angle, blocked subject, severe motion blur, poor lighting or missing information. The best social media results often come from combining better capture habits with quick AI enhancement.
For future posts, wipe your camera lens, tap to focus, use natural light when possible and take several versions before moving on. Those simple steps give a photo sharpener more detail to work with later.
Frequently Asked Questions
Can a photo sharpener make any social media photo clear? A photo sharpener can improve many blurry or low-resolution photos, especially when the original still contains visible detail. It cannot fully recover information that was never captured, such as a completely out-of-focus face or unreadable text.
Should I sharpen photos before or after cropping for social media? In most cases, start with the original file, make basic composition decisions, then sharpen before your final upload. Avoid cropping too tightly before enhancement because heavy cropping removes pixels that could help the final image look clearer.
Will sharpening reduce image quality after Instagram or Facebook compression? Sharpening can help your image hold up better after compression because the important details are clearer before upload. However, you should still start with a good file and avoid repeatedly saving or re-uploading the same image.
Is a photo sharpener good for LinkedIn profile photos? Yes, if used naturally. A clearer LinkedIn photo can make your face easier to recognize and help your profile feel more professional. Check that skin texture, hair and clothing still look realistic.
What file types can I use with ImageSharpen? ImageSharpen supports JPG, PNG and WEBP uploads. You can use it in a browser, including on mobile, without installing software or creating an account.
Make your next post look clearer
Before you delete a soft selfie, product image or social post draft, try running it through a photo sharpener. In a few seconds, you can compare the original with a clearer version and decide whether it is ready to publish.
Use ImageSharpen to sharpen blurry images, boost resolution and download a cleaner photo for your next social media post. It is free, fast and works directly in your browser with no sign-up required.