
Blurry photos rarely fail for just one reason. A small focus miss, hand shake, low light, compression or an old low-resolution file can all make an image look soft. If you have searched for enhance photo ai, you likely want a fast way to make a blurry image usable without learning layers, masks or advanced photo-editing controls.
AI photo enhancement helps because it does more than push a sharpening slider. It analyzes the image, estimates where real edges and textures should be, reduces distracting noise and can upscale the file so the final result looks cleaner on modern screens. That speed matters when you need a clearer product photo, profile image, scanned memory, social post or screenshot without rebuilding the whole image by hand.
What enhance photo ai tools actually do to blurry images
Traditional sharpening increases contrast around edges. That can help slightly soft photos, but it also creates halos, gritty skin texture and crunchy outlines when pushed too far. AI enhancement takes a more selective approach. It looks for patterns that resemble real detail, such as eyelashes, hair strands, fabric texture, text edges, leaves or building lines, then strengthens those areas without applying the same force to every pixel.
Modern enhancement models are trained on large collections of clear and degraded images. During processing, the model compares your blurry file against learned visual patterns, then predicts a cleaner version that fits the image. Put simply, an enhance photo ai model is trying to increase useful detail while avoiding the heavy artifacts that basic sharpening often adds.
This is also why AI can improve both blur and resolution in one workflow. When a tool sharpens and upscales together, it has more pixel space to refine edges, smooth blocky compression and make small details easier to see.
Why the improvement can happen in seconds
AI enhancement is fast because most of the hard work happens before you upload the image. The model has already been trained, so the online tool only needs to run your photo through that trained system and generate an improved output. You are not manually selecting areas, painting masks or testing multiple filter combinations.
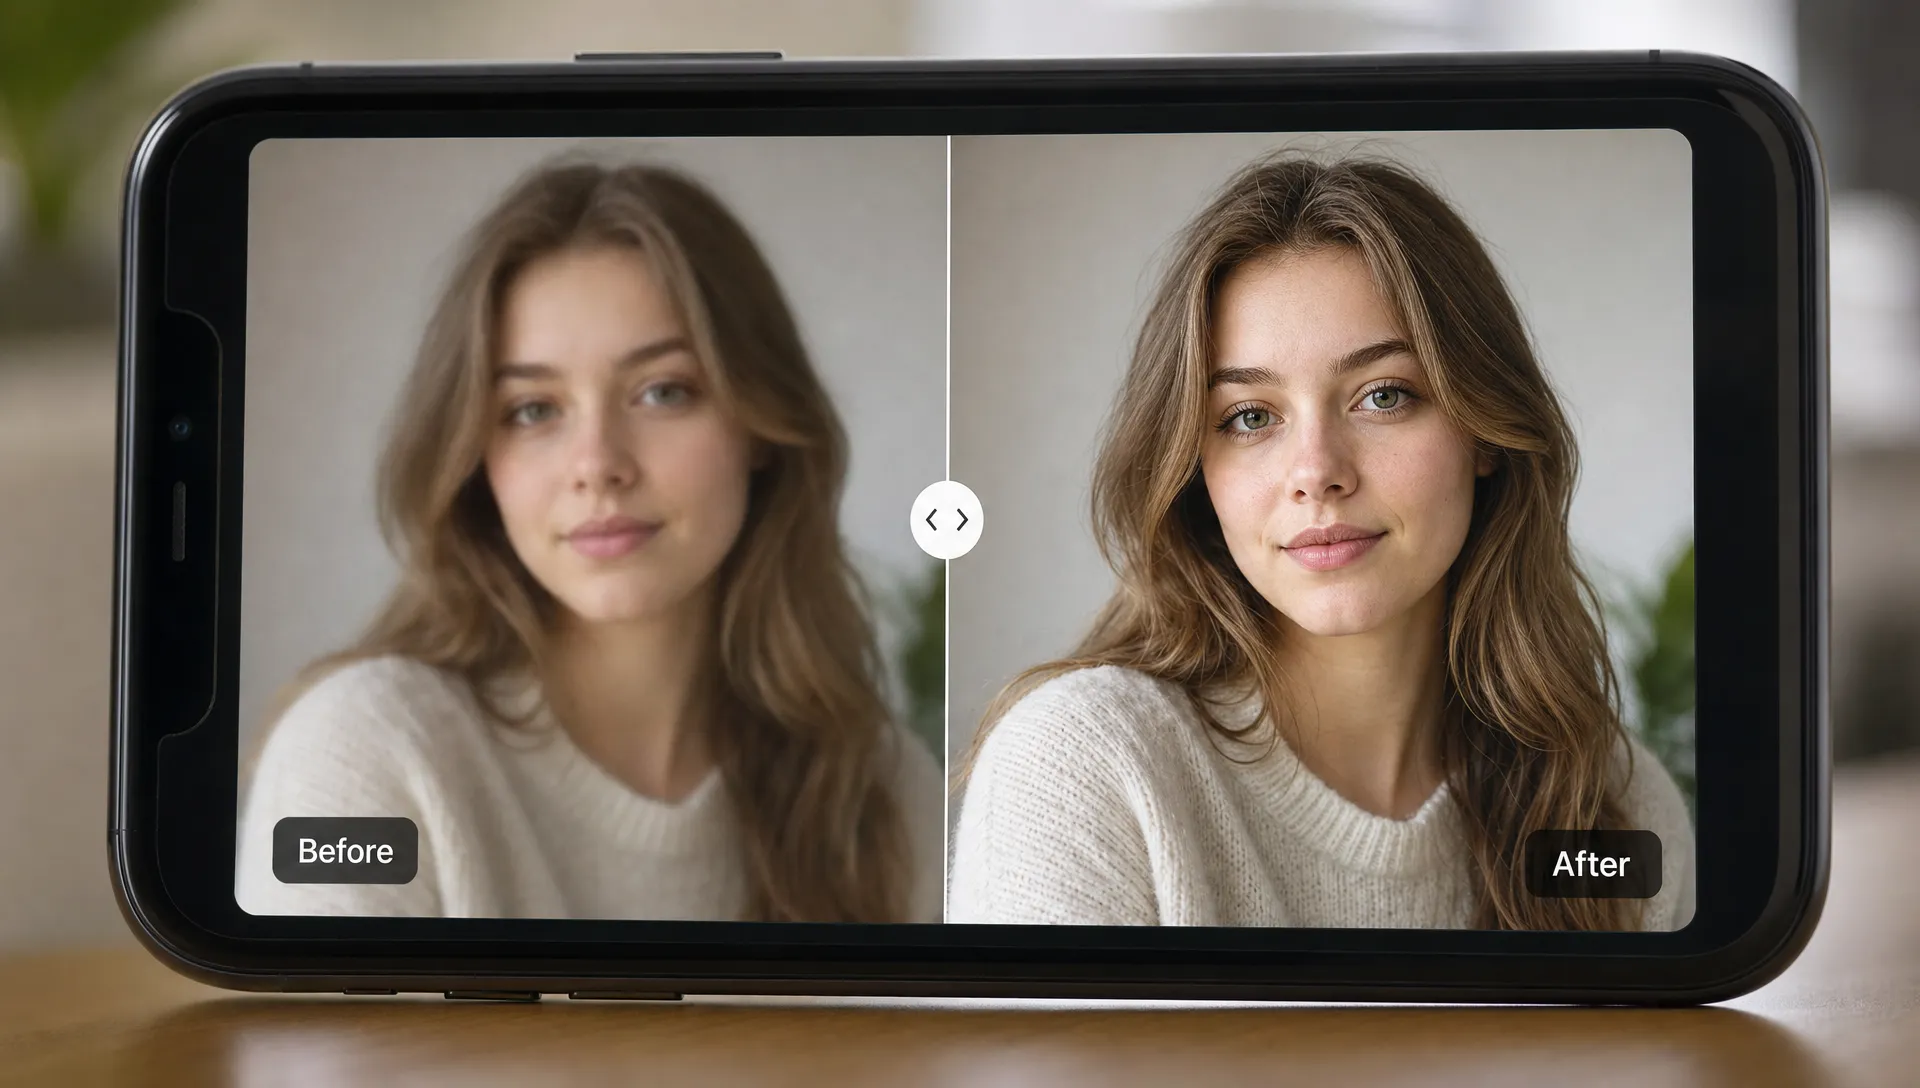
That is why an enhance photo ai workflow can feel almost instant compared with manual editing. Instead of opening desktop software, duplicating layers, applying deconvolution sharpening, reducing noise and adjusting local contrast, you upload the image and review a before-and-after preview. If you want a deeper comparison of time savings, ImageSharpen has a practical guide on why an AI image enhancer is faster than manual editing.
Browser-based processing also removes friction. With ImageSharpen, users can sharpen JPG, PNG and WEBP files directly online, with support for mobile browsers and uploads up to 20MB. There is no software install and no sign-up, which makes it useful for quick fixes when you only need one clear version of a photo.
Which blurry images improve the most
The strongest enhance photo ai results usually come from images that still contain some recoverable structure. If a face is slightly out of focus, a product label is a little soft or a landscape lost detail through compression, AI has visual information to work with. It can strengthen the existing signal and suppress the noise that hides it.
Severe blur is harder. If the camera moved so much that a face becomes a smear, or if a tiny cropped image has almost no real detail left, AI can still make the photo look cleaner, but it cannot know the exact original information with certainty. Good enhancement improves plausibility and clarity, not time travel.
| Image problem | What AI can often improve | What to check before saving |
|---|---|---|
| Slight missed focus | Edges, facial features and object outlines | Skin texture and hair should still look natural |
| Mild motion blur | Directional softness and low contrast edges | Look for ghosting around hands or text |
| Compression artifacts | Blockiness, grain and noisy backgrounds | Make sure flat areas do not look waxy |
| Low resolution | Pixelated details after upscaling | Check small text and fine patterns at 100 percent view |
| Low-light softness | Noise, contrast and subject separation | Avoid over-brightened shadows with false detail |
A quick workflow for sharper results
For best results, treat enhance photo ai processing as a short quality-control workflow, not a one-click gamble. The upload may take only seconds, but the way you choose the source file and review the output determines whether the final image looks clean or overprocessed.
Start with the best available original. A photo exported from a messaging app may already be compressed, so use the camera original if you still have it. Avoid taking a screenshot of a blurry photo, because that adds another layer of scaling and compression. If you are enhancing an old image, scan or photograph it as clearly as possible before uploading.
After processing, compare the before-and-after view at normal size and at 100 percent. Normal size tells you whether the photo works for its intended use. Full size reveals artifacts such as unnatural skin smoothing, bright halos around edges, duplicated texture or distorted text. ImageSharpen’s before-and-after preview is useful here because you can judge the improvement before downloading the high-quality result.
A practical workflow looks like this:
- Use the cleanest source file: Upload the original JPG, PNG or WEBP when possible.
- Enhance once before cropping heavily: Give the model more surrounding detail to analyze.
- Check the main subject first: Faces, product labels and text matter more than background texture.
- Review at real display size: A result can be perfect for a website thumbnail even if it is not flawless at extreme zoom.
- Download only after comparing: Save the improved version once it fits the purpose.
Where fast AI enhancement is most useful
AI photo enhancement is most valuable when the photo has a clear job. A slightly soft headshot may need to look professional on a profile page. A product image may need sharper edges so customers can understand the item. A family photo may need enough clarity to print or share. A screenshot may need readable text without jagged UI elements.
Creators and small businesses benefit because they often work with mixed-quality assets. A musician preparing album thumbnails, press photos or product images for an online music catalog, for example, needs visuals that stay clear in small cards and mobile layouts. An independent artist store such as Tienda de almaes shows how cover art, release images and storefront visuals all contribute to the browsing experience.
The same principle applies to marketplaces, portfolios and social media posts. The image does not need to become a studio-grade file every time. It needs to become clear enough for the viewer to understand the subject quickly and trust what they are seeing.
How to judge whether the AI result is actually better
A good enhance photo ai result should look clearer without calling attention to the processing. The most common mistake is assuming that more sharpness always means a better photo. In reality, excessive sharpness can make edges glow, skin look rough and backgrounds look noisy.
Use three checks before downloading. First, look at the subject’s key details, such as eyes, text, product edges or architectural lines. Second, inspect smooth areas like cheeks, skies and walls, because these reveal noise reduction problems quickly. Third, compare the enhanced image at the size where it will be used. A file meant for a profile avatar should be judged differently from a file meant for a large print.
For a more structured testing process, the guide to free AI photo enhancer tests with before-and-after checks explains what to inspect when comparing outputs. This habit prevents you from keeping an image that looks impressive at first glance but unnatural after a closer look.
What AI cannot fix perfectly
Even the best enhance photo ai model has limits. It cannot recover exact license plate numbers, faces or text if the original pixels contain no readable information. It may infer plausible detail, but inferred detail is not the same as verified detail. This matters for legal, medical, identification and archival uses where accuracy is more important than appearance.
AI can also struggle with unusual patterns. Fine jewelry, dense foliage, musical instrument strings, handwriting and small typography may require careful review because the model can sharpen some parts correctly and simplify others. If the enhanced image is for documentation, keep the original file and label the improved version as enhanced.
The realistic goal is fast visual improvement. For everyday images, that is often enough. For critical evidence or professional retouching, AI enhancement should be one step in a larger review process.
Frequently Asked Questions
How does AI make a blurry photo clearer? AI analyzes edges, texture, noise and resolution, then predicts a cleaner version based on patterns learned from clear images. It can sharpen details, reduce compression artifacts and upscale the photo so it looks more defined.
Can enhance photo ai tools fix every blurry image? No. They work best when the original still contains some usable structure. Severe motion blur, tiny cropped files and completely unreadable text may improve visually, but the exact original detail cannot always be restored.
Is AI photo enhancement better than a sharpening filter? For many blurry photos, yes. A basic sharpening filter increases edge contrast across the image, while AI can apply more selective improvements to subjects, textures and noisy areas.
Will AI enhancement make my photo look fake? It can if the effect is too strong or the source image is very degraded. Always check faces, text, edges and smooth backgrounds before downloading the final version.
What file types can I sharpen with ImageSharpen? ImageSharpen supports JPG, PNG and WEBP uploads, with browser-based processing, before-and-after preview and high-quality downloads.
Try a faster way to sharpen blurry images
If you need a clearer image quickly, AI enhancement is one of the simplest places to start. It is fast, browser-based and useful for everyday blur, low resolution and compressed photos. With ImageSharpen, you can upload an image, preview the improvement and download a sharper version without installing software or creating an account.