
If you are trying a free AI photo enhancer, the real question is not whether the preview looks sharper at first glance. It is whether the enhanced image is actually better when you compare it against the original in a controlled way. A good before-and-after check helps you spot real improvements in clarity, texture and resolution, while catching over-sharpening, fake detail or strange artifacts before you download and use the final file.
This guide gives you a practical test workflow you can use on portraits, product shots, family photos, screenshots, real estate images and low-resolution files. You do not need Photoshop skills or a lab setup. You only need the original image, the enhanced version and a few repeatable checks that make the result easier to judge.
How to Test a Free AI Photo Enhancer Without Guessing
A before-and-after test should remove as much guesswork as possible. If you zoom randomly, switch between different screen brightness levels and judge the image from memory, almost any edit can look good for a few seconds. Instead, compare the same area of the original and the enhanced version at the same size.
Start by choosing one image with a clear problem. That problem might be motion blur, soft focus, low resolution, compression blocks or a faded scan. The purpose of a free AI photo enhancer test is to see whether the tool improves that specific issue without damaging parts of the image that were already acceptable.
For a fair check, avoid testing with only one “perfect” image. Include a difficult file, a normal everyday file and a file you actually plan to use. A tool that looks great on a sample photo may behave differently on a dim indoor snapshot or a tiny web download.
Build a Simple Test Set Before You Upload
Your test set does not need to be large. Three to five images are enough for most users, especially if each image represents a different use case. A portrait tests skin, hair and eyes. A product photo tests edges, labels and texture. A document or sign tests small text. A landscape tests leaves, buildings, clouds and distant details.
When you use a free AI photo enhancer on several image types, you can see its strengths more clearly. Some tools sharpen edges well but make faces look waxy. Others preserve faces but struggle with small text or noisy night shots. Testing across categories keeps you from choosing a tool based on one lucky result.
Keep the originals untouched. Save copies with clear names such as portrait-original.jpg and portrait-enhanced.jpg. If you enhance the same image more than once, add a version number so you do not compare the wrong files later.
| Test image type | What it reveals | What to inspect closely |
|---|---|---|
| Portrait | Face detail and natural texture | Eyes, hairline, skin pores and teeth |
| Product photo | Edge clarity and surface detail | Logos, labels, fabric, metal or plastic texture |
| Old family photo | Restoration balance | Faded areas, scratches, faces and background grain |
| Screenshot or sign | Text readability | Small letters, icons and straight lines |
| Low-light photo | Noise handling | Shadows, dark clothing, sky and indoor walls |
If you are not sure whether your file is suitable, start with basic preparation first. The guide on checks to make before using a photo quality enhancer is useful for reviewing privacy, file quality and final use before you upload anything important.
Before-and-After Checks That Actually Reveal Improvement
Do not judge the entire image at once. Pick three to five inspection zones and compare them one by one. In a portrait, that could be the eyes, hair, skin and clothing seams. In a product image, use the label, the product outline, a textured surface and any small printed details.
The best free AI photo enhancer result usually looks clearer without calling attention to the edit. Edges should be more defined, but not outlined with halos. Texture should be more visible, but not gritty. Faces should look sharper, but not plastic or heavily filtered.
Use the same zoom level for each comparison. For most photos, check once at fit-to-screen size and once at 100 percent. If you only inspect at 300 percent, you may reject a result that looks perfectly good in real use. If you only inspect the small preview, you may miss artifacts that show up after download.
| Before-and-after check | Good sign | Warning sign |
|---|---|---|
| Edge clarity | Important outlines look cleaner | Bright halos appear around objects |
| Fine texture | Hair, fabric or wood grain looks more defined | Surfaces look crunchy or artificial |
| Face quality | Eyes and hair improve while skin stays natural | Skin becomes waxy or facial features distort |
| Text readability | Letters become easier to read | Text turns into fake-looking shapes |
| Noise control | Shadows look cleaner | Speckles, blotches or color patches increase |
| Overall realism | The image looks like a better version of the original | The photo looks heavily processed |
Score the Result by Use Case, Not by Sharpness Alone
Sharpness is not the only measure of quality. A file meant for a small profile photo has different requirements than a product image for an online store or a restored family picture meant for printing. Before you decide whether the enhancement worked, define what “better” means for that image.
A free AI photo enhancer may be the right choice when you need fast clarity improvements, a larger downloadable file or a quick fix for a blurry image you cannot reshoot. It may not be enough if the original is extremely out of focus, heavily cropped, damaged beyond recognition or missing detail that was never captured.
Use a simple 1 to 5 score for each category: clarity, natural detail, artifact control and final usability. A photo does not need a perfect score in every category. For example, a family snapshot may be successful if faces are clearer and the mood remains natural, even if the background is still soft.
| Final use | Most important quality | Acceptable compromise |
|---|---|---|
| Social media | Clear subject at normal viewing size | Minor artifacts hidden at small size |
| Product listing | Accurate edges, labels and texture | Slight background softness |
| Family archive | Natural faces and restored clarity | Some remaining grain or fading |
| Website image | Clean appearance and suitable resolution | Less detail in areas users will not inspect |
| Realistic texture and enough resolution | Minimal sharpening if it avoids artifacts |
For images where natural detail matters more than maximum sharpness, review this guide on how to enhance images free without losing natural detail. It pairs well with a before-and-after test because it helps you avoid edits that look impressive for one second but unnatural after a longer look.
Common Artifacts to Watch For
AI enhancement can produce strong results, but it is not magic. The software estimates missing detail based on patterns in the image. That can work well when the source file still contains enough visual information, but it can also create artifacts when the original is too small, too blurry or too compressed.
When testing a free AI photo enhancer, look closely at repeated patterns such as hair, grass, brick, fabric and small lettering. These areas are where false detail often appears. A sweater might gain strange threads that were not there. Grass might look overly sharp. A face might develop unnatural skin texture.
Halos are another common problem. They appear as bright or dark outlines around high-contrast edges, such as a person against the sky or black text on a white background. A small amount may be hard to notice, but strong halos make an image look edited and can reduce trust in product or real estate photos.
Color shifts also matter. If the enhanced version is sharper but changes skin tone, product color or the look of an old photograph, it may not be the best result. This is especially important for online selling, archival images and documentation where accuracy matters.
Privacy and File Handling During Tests
Before uploading any photo to any online tool, check what the image contains. Avoid uploading files that show private documents, medical information, financial details or sensitive personal data unless you are comfortable using that service for the file.
Security-related photos deserve extra care. If the pictures show alarm panels, access points, locks, camera positions or business premises, treat them like operational records rather than casual images. Physical security providers such as Locked Safe Holland's security solutions are a useful reminder that visual documentation can be part of a broader safety workflow, especially for homes and businesses.
For everyday images such as pet photos, travel shots, product pictures and old family scans, the risk is usually easier to manage. Still, it is a good habit to crop out private details before testing and keep only the enhanced files you truly need.
When ImageSharpen Fits This Testing Workflow
ImageSharpen is built for quick browser-based enhancement, which makes it practical for before-and-after testing. You can sharpen blurry images, unblur photos online and boost resolution without installing software or creating an account. The tool supports JPG, PNG and WEBP files, handles uploads up to 20MB and is designed to process images quickly, including from a mobile browser.
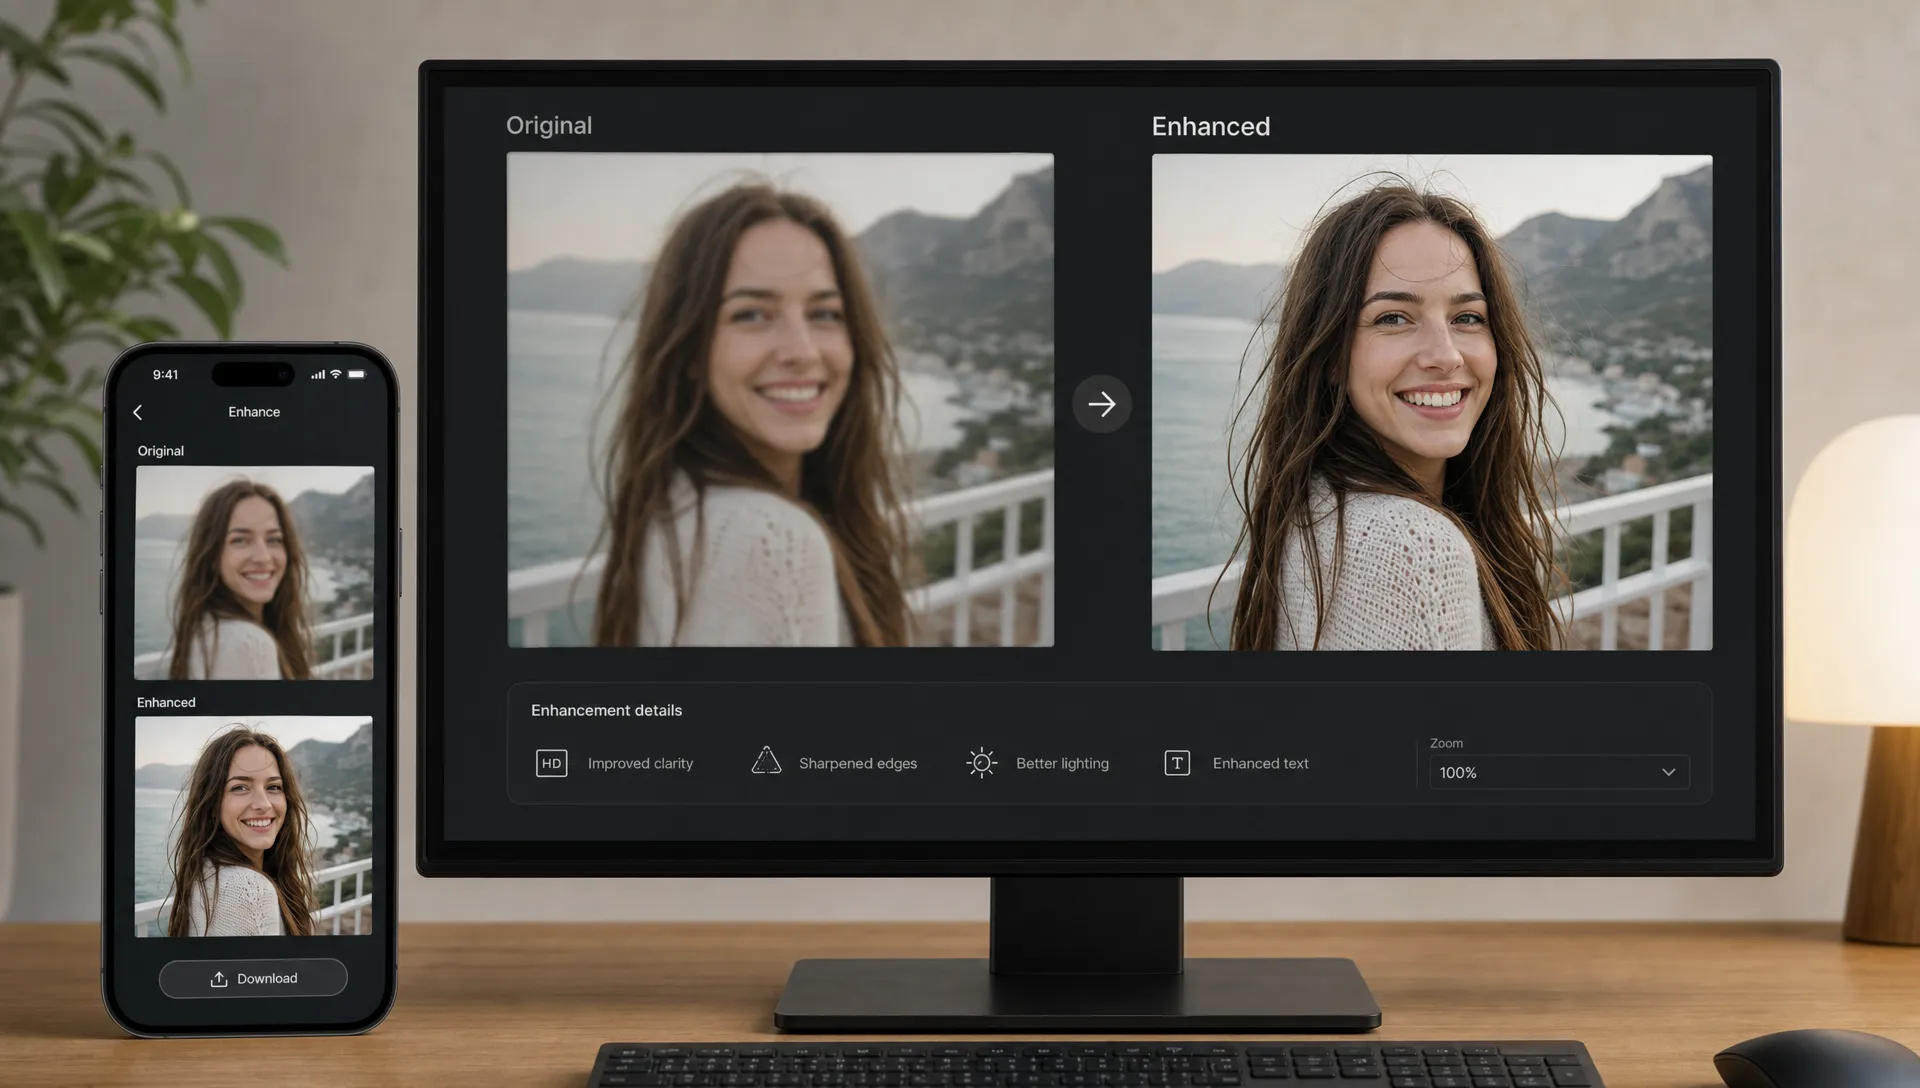
For a free AI photo enhancer test, the before-and-after preview is especially useful because you can inspect the result before committing to a download. That matters when you are comparing small details, checking for artifacts or deciding whether a photo is good enough for a listing, archive or social post.
A simple workflow works best. Upload the original, review the preview, compare key inspection zones and download only if the enhanced version improves clarity while keeping the image believable. If your main issue is blur, you can also follow this focused guide on how to make a blurry photo clear for free.
A Practical Before-and-After Testing Checklist
Use this checklist when you want a fast but consistent review. It is short enough for everyday use and structured enough to prevent common mistakes.
- Compare the original and enhanced image at the same size.
- Check at fit-to-screen view and 100 percent zoom.
- Inspect faces, text, edges, texture and shadows separately.
- Look for halos, fake detail, waxy skin and color shifts.
- Judge the file based on its final use, not maximum sharpness.
- Keep the original file in case you need to retest.
The strongest results often come from restraint. If the enhanced image looks clearer but still natural, it is usually more useful than a version that pushes every edge and texture too hard.
Frequently Asked Questions
How do I know if an AI-enhanced photo is actually better? Compare the same areas of the original and enhanced version at the same zoom level. The enhanced photo should improve clarity, readability or resolution without adding halos, strange textures or unrealistic smoothing.
Can a free AI photo enhancer fix every blurry image? No. It can improve many soft, low-resolution or mildly blurry images, but it cannot fully recover detail that was never captured. Extremely out-of-focus photos, severe motion blur and tiny cropped files may still have limits.
Should I test portraits and product photos differently? Yes. For portraits, focus on eyes, hair and natural skin texture. For product photos, inspect edges, labels, logos and surface materials because those details affect buyer confidence.
Is 100 percent zoom the best way to judge enhancement? It is useful, but it should not be the only view. Check 100 percent zoom for artifacts, then view the whole image at the size where it will actually be used.
What file types can I test with ImageSharpen? ImageSharpen supports JPG, PNG and WEBP uploads, which covers the most common photo and web image formats.
Try a Cleaner Before-and-After Test
A good enhancement test is simple: use a real image, compare the same details and choose the version that improves clarity without making the photo look artificial. If you want to run that check quickly, open ImageSharpen, upload a JPG, PNG or WEBP file and review the before-and-after preview before downloading the enhanced result.