
A bad scan can turn a sharp printed photo into a soft, gray file with weak edges and muddy texture. If you need to fix blurry photos online free, the best results come from combining a cleaner rescan with a browser-based AI sharpener rather than repeatedly sharpening the same weak file. This guide focuses on bad scans: family prints, documents, certificates, product photos or old media clippings that looked fine on paper but lost detail after digitization. You will learn how to spot what went wrong, prepare the image, improve clarity with ImageSharpen and save a cleaner version without installing software or creating an account.
Why bad scans make photos look worse than the original
A scanner or scanning app can introduce blur even when the paper photo is in good condition. The print may not sit flat on the glass, the scanner lid may let in light, the app may focus on the wrong plane or the file may be compressed too aggressively after capture. Old prints also carry their own problems, including faded contrast, surface scratches and paper texture that can confuse automatic enhancement.
When you fix blurry photos online free, your goal is not to manufacture detail that was never captured; it is to recover edges, contrast and texture that are already present but hidden by softness, low resolution or poor scanning conditions.
| Scan issue | What it usually looks like | Best first step |
|---|---|---|
| Out-of-focus scan | Faces and edges look soft everywhere | Rescan with the print flat and stable |
| Low resolution | Image looks blocky when enlarged | Use a higher dpi setting before sharpening |
| Compression | Fine detail has square artifacts or smears | Export a less compressed JPG or PNG |
| Dust or glass marks | Spots, streaks or cloudy patches appear | Clean the scanner glass and the print surface |
| Faded print | Image is clear but low contrast | Enhance clarity, then adjust brightness if needed |
How to fix blurry photos online free after a bad scan
Start with the strongest source file you have. If you still have the original print, a rescan usually gives AI more real information to work with than a copy of a copy. If the original is gone, use the largest existing file and avoid sending it through chat apps or social platforms before editing, since those services often compress images.
A simple workflow works well for most bad scans:
- Choose the cleanest version of the scan, ideally the highest resolution JPG, PNG or WEBP file available.
- Upload it to an AI sharpener that can enhance clarity directly in the browser.
- Compare the before and after preview at normal size and at 100 percent zoom.
- Download the improved file and keep the original scan as a backup.
This simple browser workflow lets you fix blurry photos online free without installing desktop software, learning complex editing panels or creating multiple exported versions just to test whether sharpening helps. If your issue is general blur rather than scan-specific softness, this guide on how to unblur an image for free without downloading software can help you compare the most common causes before you edit.
Prepare your scan before using AI sharpening
AI enhancement works best when the source image is clean, stable and not overprocessed. Before uploading, check the physical print and the scan settings. A few minutes of preparation can prevent the most common problems, especially halos, blown highlights and crunchy-looking texture.
You will get a cleaner result when you fix blurry photos online free if the scan is flat, evenly lit and saved at a useful resolution before any enhancement is applied.
Use these quick checks before you sharpen:
- Wipe the scanner glass with a clean microfiber cloth so dust does not become part of the image.
- Place the photo squarely on the glass and close the lid gently to reduce shadows.
- Turn off aggressive auto-sharpening in the scanner app if it makes edges look harsh.
- Save a fresh copy before editing so you can return to the original scan.
- Crop away empty borders after scanning, not before, so the photo stays easy to align.
Choose the right scan resolution
For standard photo prints, 300 dpi is often enough for sharing online or making a modest reprint. For small wallet-size prints, old portraits or anything you plan to crop, 600 dpi can capture more usable detail. Extremely high dpi settings can create large files without adding real information, especially if the paper print itself is soft.
If your scanner offers output choices, PNG is useful when you want to avoid additional compression, while a high-quality JPG is usually fine for everyday photos. ImageSharpen supports JPG, PNG and WEBP uploads up to 20MB, which covers most personal scans and many business image files.
Use ImageSharpen for scan cleanup
Once your scan is ready, upload it to ImageSharpen in your browser. The tool uses AI image sharpening to improve clarity, unblur photos online and boost resolution without requiring a sign-up. Processing is designed to be fast, often taking seconds, so you can test whether a scan is worth keeping before spending time on manual edits.
With ImageSharpen, you can fix blurry photos online free from a mobile or desktop browser, preview the before and after result and download a high-quality version for sharing, archiving or printing. The 4x resolution boost is most useful when the scan has enough real detail to support enlargement. It cannot turn a tiny, heavily compressed thumbnail into a perfect large print, but it can make many soft scans look cleaner and more usable.
What AI can and cannot recover
The most realistic way to fix blurry photos online free is to improve usable detail, not to expect AI to reconstruct every missing eyelash, fabric thread or printed letter. Scans with mild softness, low contrast and small edge blur tend to respond well. Scans with severe motion blur, extreme compression or tiny source dimensions have less recoverable information.
Think of AI sharpening as a clarity tool. It can emphasize real edges, improve local contrast and make facial features or document lines easier to read. It cannot fully restore detail that the scan never captured. If a face is only a few pixels wide or a document was scanned so poorly that letters have merged together, sharpening may help readability but will not create a flawless archive file.
Avoid halos and over-sharpened edges
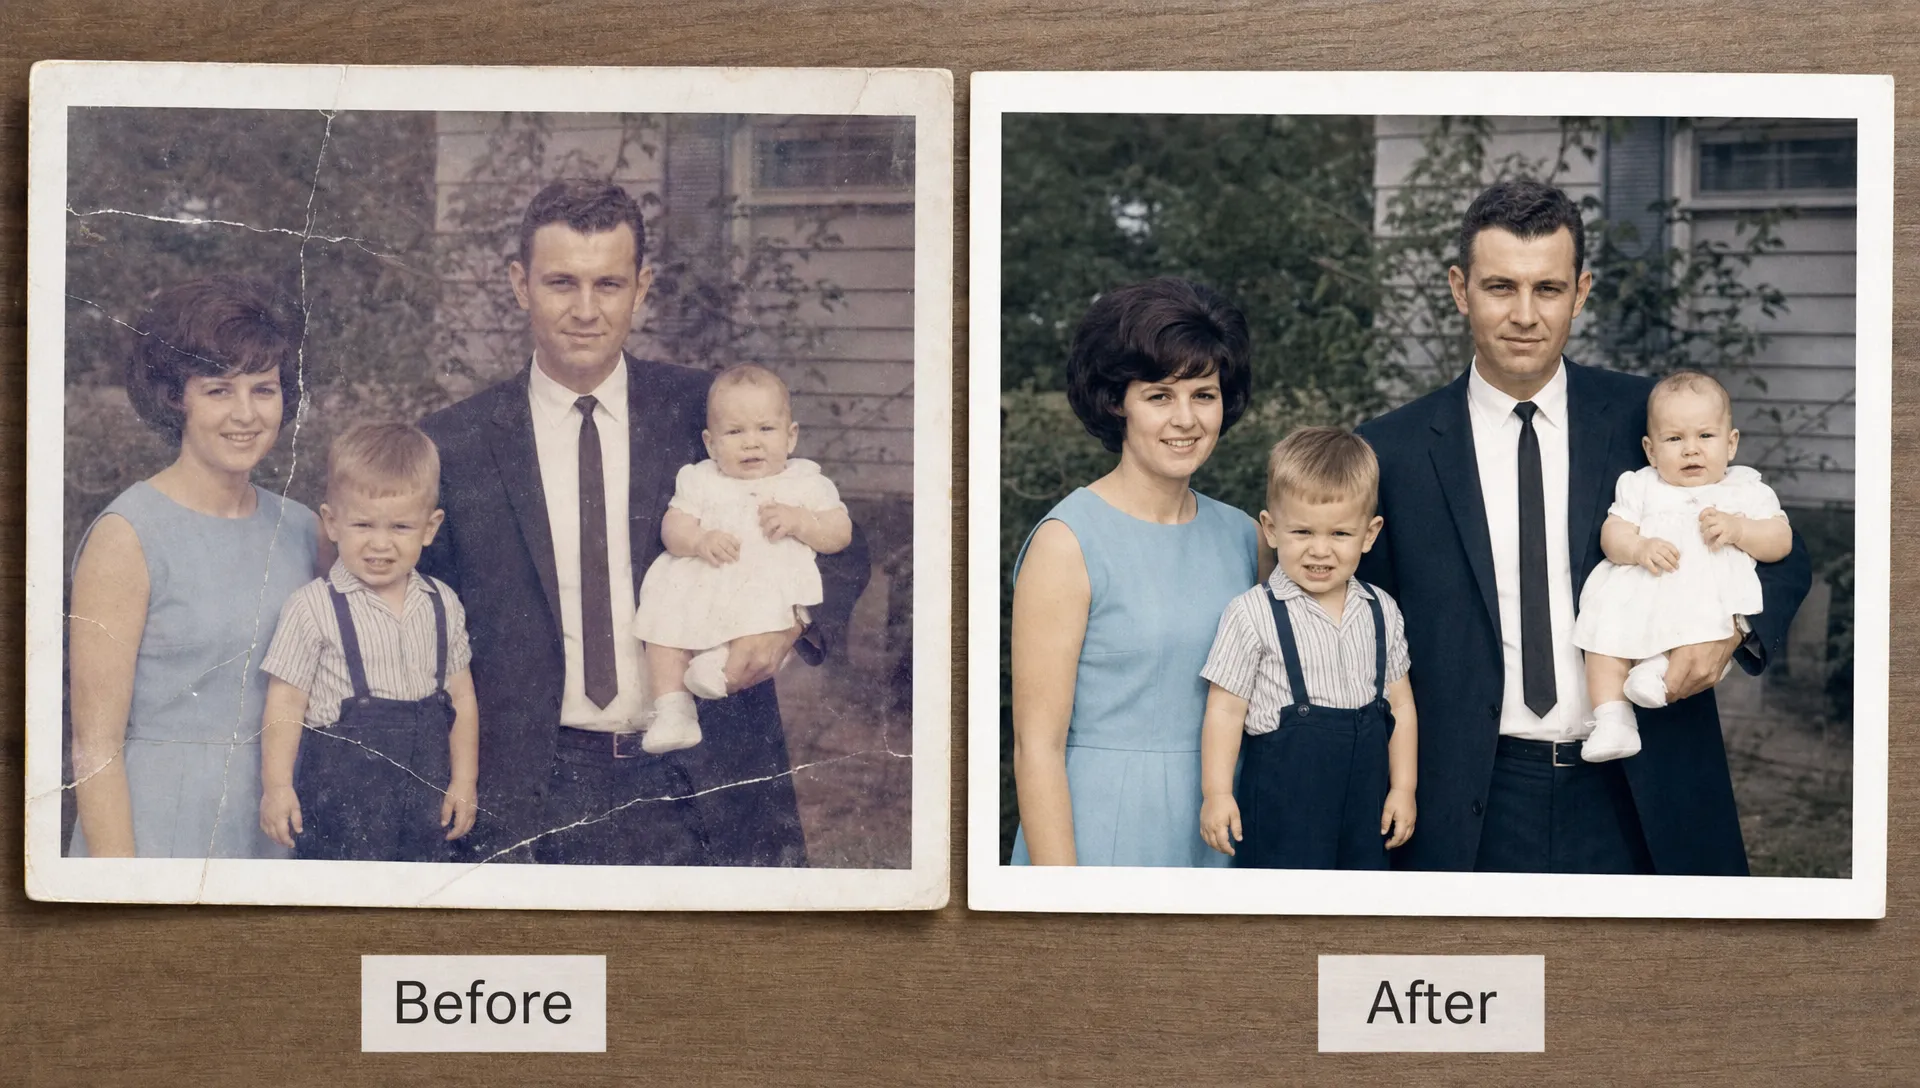
Bad scans often tempt people to apply sharpening more than once. That usually makes the file worse. Over-sharpening creates bright or dark outlines around faces, text, buildings and high-contrast borders. These outlines are called halos, and they can make a restored photo look artificial.
After enhancement, zoom in to 100 percent and check edges that matter: eyes, hairlines, printed text, jewelry, logos and document signatures. If edges glow or look crunchy, start again from the original scan rather than sharpening the already enhanced download. For a deeper look at this specific issue, the guide to unblur images online for free without creating halos explains how to recognize and prevent halo artifacts.
Match the workflow to the scan type
Different scanned images need different judgment calls. A family photo should look natural, even if it remains slightly soft. A product photo should make shape, texture and branding clear. A document scan should prioritize readable lines and letters over artistic smoothness.
If you fix blurry photos online free for business use, such as scanned certificates, historical brand photos, event images or old press clippings, review the enhanced file at the size where people will actually see it. A scan that looks imperfect at 300 percent zoom may still look clean in a website bio, media kit or presentation. For businesses cleaning up scanned event photos or media clippings for a launch, sharper files can strengthen a press kit before sharing news through press release distribution.
| Scan type | What to prioritize | What to avoid |
|---|---|---|
| Family photo | Natural faces and soft texture | Plastic-looking skin |
| Certificate or document | Readable text and clean borders | Heavy contrast that hides stamps or signatures |
| Product image | Crisp outline and visible surface detail | Jagged logo edges |
| Old newspaper clipping | Legible headlines and dates | Over-enhanced paper grain |
| Social media archive | Clear subject at phone-screen size | Enlarging beyond what the scan supports |
Save your enhanced file the right way
After you fix blurry photos online free, do three checks before you share or print the result. First, compare the enhanced image with the original at the same size. Sharper is not always better if faces look unnatural or fine texture becomes noisy. Second, view the file on the device where it will be used, such as a phone, laptop or printer preview. Third, keep both files clearly named so you know which version is the untouched scan and which is the enhanced copy.
A practical naming system helps when you are restoring several images at once. Use names such as family-photo-original.jpg and family-photo-sharpened.jpg, or certificate-scan-original.png and certificate-scan-enhanced.png. If you later decide to crop, print or resize the image, you will still have a clean starting point.
Frequently Asked Questions
Can a blurry scan really be fixed online? Yes, many blurry scans can be improved online if the file still contains usable detail. AI sharpening can make edges, faces and text clearer, but it cannot fully recover information that was never captured in the scan.
Should I rescan the photo before using an AI sharpener? Rescan if you still have the original print and the first scan is very soft, dark, dusty or low resolution. A better source file usually creates a better final result than repeated editing.
What file types work best for scanned photos? JPG, PNG and WEBP are practical choices. PNG avoids extra compression, while a high-quality JPG is convenient for everyday use and smaller file sizes.
Will sharpening remove scratches or stains from an old scan? Sharpening improves clarity, but it is not the same as scratch removal or full photo restoration. It may make scratches more visible if they are strong, so clean the print and scanner glass before scanning.
Can I use this on a phone? Yes. Since ImageSharpen works in a browser and supports mobile use, you can upload a scan from your phone, preview the result and download the enhanced image without installing an app.
Restore a bad scan in seconds
Ready to fix blurry photos online free after a bad scan? Open ImageSharpen, upload your JPG, PNG or WEBP file, compare the before and after preview and download a clearer version. Start with the best scan you have, avoid repeated sharpening and keep the original file safe for future edits.