
When you clear up an image for slides, the hard part is not only making the picture look sharper. It is keeping the small text inside the image readable after the deck resizes, compresses and exports it.
This comes up all the time with screenshots, charts, product photos, packaging mockups, scanned documents, app interfaces and brand visuals. A slide may look fine while you are editing at 150 percent zoom, then appear soft on a projector or unreadable after you export the deck as a PDF.
The fix is a workflow problem, not just a sharpening problem. You need the best source image you can get, the right enhancement step and slide settings that do not undo the improvement.
Why small text gets blurry in slides
Small text is easy to damage because it relies on hard edges. When a slide app scales an image up, it has to invent extra pixels. When it scales an image down, it may merge fine strokes together. When it compresses the image, it can create fuzzy edges or blocky artifacts around letters.
The most common causes are simple:
- The image was inserted at a low resolution and enlarged on the slide.
- A screenshot was copied from a preview instead of saved at full size.
- The slide app compressed images automatically.
- The file was exported to PDF or video with low quality settings.
- The image already had motion blur, focus blur or heavy JPEG artifacts.
Text-heavy visuals need more care than ordinary photos. A slightly soft portrait may still look acceptable in a presentation, but a slightly soft screenshot can make menu labels, axis values or button text look messy.
A good rule is to treat small text as detail, not decoration. If the viewer needs to read it, optimize the image before placing it in the deck and avoid stretching it afterward.
Start with the best source image you can find
Sharpening can improve clarity, but it cannot fully replace missing information. Before you use an AI enhancer, check whether a better source file exists.
If you are working with a chart, export it directly from the original tool instead of taking a screenshot. If you are working with a logo, use the highest resolution PNG available. If you are working with a website or app interface, capture the screenshot at the largest practical browser or device size.
| Image type | Best source for slides | Avoid if small text matters |
|---|---|---|
| Screenshot | Full-size PNG or high-quality WEBP | Cropped images from chat apps or document previews |
| Chart or dashboard | Direct export from the app, preferably PNG or PDF | Phone photo of a screen |
| Product image with labels | Original product photo or high-resolution vendor image | Marketplace thumbnail or compressed social image |
| Scanned document | Fresh scan at a high setting | Photo taken at an angle in dim light |
| Logo or badge | Large PNG, SVG or original design export | Tiny copied image from a website header |
For brand and product decks, this matters even more. If your slide shows apparel details like woven tags, patches or packaging trims, use clear source assets from the supplier or manufacturer rather than a thumbnail. For example, teams preparing fashion, merchandising or packaging presentations can reference high-quality product visuals from providers of custom woven labels and patches so small woven text and edge details have enough information to remain readable.
Clear up the image before placing it in the deck
Once you have the best available file, enhance it before you insert it into PowerPoint, Google Slides, Keynote or Canva. This keeps the slide software from magnifying blur and artifacts.
A fast browser-based workflow looks like this:
- Save the original image as JPG, PNG or WEBP.
- Crop away unnecessary empty space, but do not crop so tightly that text edges get clipped.
- Upload the image to ImageSharpen to sharpen and enhance it with AI.
- Use the before and after preview to check whether the small text improved naturally.
- Download the enhanced image and insert that version into your slide.
- Resize the image down if needed, but avoid enlarging it past its downloaded dimensions.
ImageSharpen is built for quick cleanup in the browser, with no signup or software install required. It can sharpen blurry images, unblur photos online and boost resolution up to 4x, which is useful when a slide needs a larger version of a small image. It supports JPG, PNG and WEBP files, with uploads up to 20MB.
If your image is a screenshot, the sharpening strategy is slightly different from a normal photograph because letters, icons and UI lines can get oversharpened. For that case, follow a screenshot-specific process like this guide on how to sharpen a blurry screenshot so the interface looks cleaner without making the text harsh.
Use slide settings that protect clarity
Enhancing the image is only half the job. The slide app can still soften it if you resize, compress or export the file incorrectly.
PowerPoint
PowerPoint is widely used for business decks, pitch presentations and training materials, so it is a common place for image quality problems to appear.
After inserting an enhanced image, keep its proportions locked and resize from the corners. Avoid dragging it larger than its natural size. If you need it to occupy more space, go back to the source image and upscale it first rather than stretching it inside the slide.
PowerPoint also has image compression settings. In many versions, you can reduce automatic compression through the app’s image size and quality options. Look for settings such as keeping high fidelity or not compressing images in the file. The exact location varies by PowerPoint version and operating system, but the principle is the same: do not let the app throw away the detail you just restored.
When exporting, choose a high-quality PDF or image export setting if the deck will be shared outside PowerPoint. Low-quality PDF exports can make small labels look soft even when the original slide looked sharp.
Google Slides
Google Slides is convenient for collaboration, but many clarity problems come from copying and pasting images between apps. Instead of pasting from a browser preview, download the enhanced image first and then insert it into the slide as an image file.
Use the final slide size early in the process. If you build a deck in a standard widescreen format, design for that format from the start rather than resizing the whole deck later. Large layout changes can force images to scale in ways that reduce readability.
If you share the deck as a PDF, review the PDF itself at 100 percent zoom and on the device where it will be presented. The browser editor view is not always the same as the exported file.
Keynote and other slide tools
Keynote, Canva and similar tools can produce crisp slides, but the same rules apply. Insert the enhanced file directly, preserve the aspect ratio and avoid repeated exports. Every export or reupload can add another layer of compression.
If the slide will be projected, test it on a screen similar to the final one. Text that is readable on a Retina laptop may be too small in a conference room. Sharpening helps with clarity, but it does not fix text that is physically too small for the viewing distance.
Know when to sharpen and when to rebuild the text
AI sharpening is useful when the image is soft, slightly out of focus or too low in resolution. It is not a magic replacement for missing letters. If a tiny word is only a few pixels tall in the original image, there may not be enough information to recover it accurately.
This is especially important for legal disclaimers, financial data, product labels, map names and UI instructions. If the exact words matter, consider rebuilding the text as live text on the slide instead of relying on an image.
| Situation | Best approach | Why it works |
|---|---|---|
| Slightly blurry screenshot | Sharpen and upscale before inserting | Restores edge contrast and gives the slide more pixels to work with |
| Chart with unreadable axis labels | Reexport the chart or recreate labels as slide text | Prevents distortion of numbers and category names |
| Product photo with small packaging text | Enhance the photo, then use a close-up crop if needed | Keeps the product realistic while improving detail |
| Logo with fuzzy lettering | Use a better logo file or enhance a larger PNG | Preserves brand edges better than enlarging a tiny logo |
| Severely motion-blurred image | Replace the image if possible | The original letter shapes may be too damaged to infer reliably |
For ordinary photos, you can often make meaningful improvements with an AI enhancer. If you are working with people, products or scenes rather than text-heavy screenshots, this guide on how to make a blurry photo clear gives a more general cleanup process.
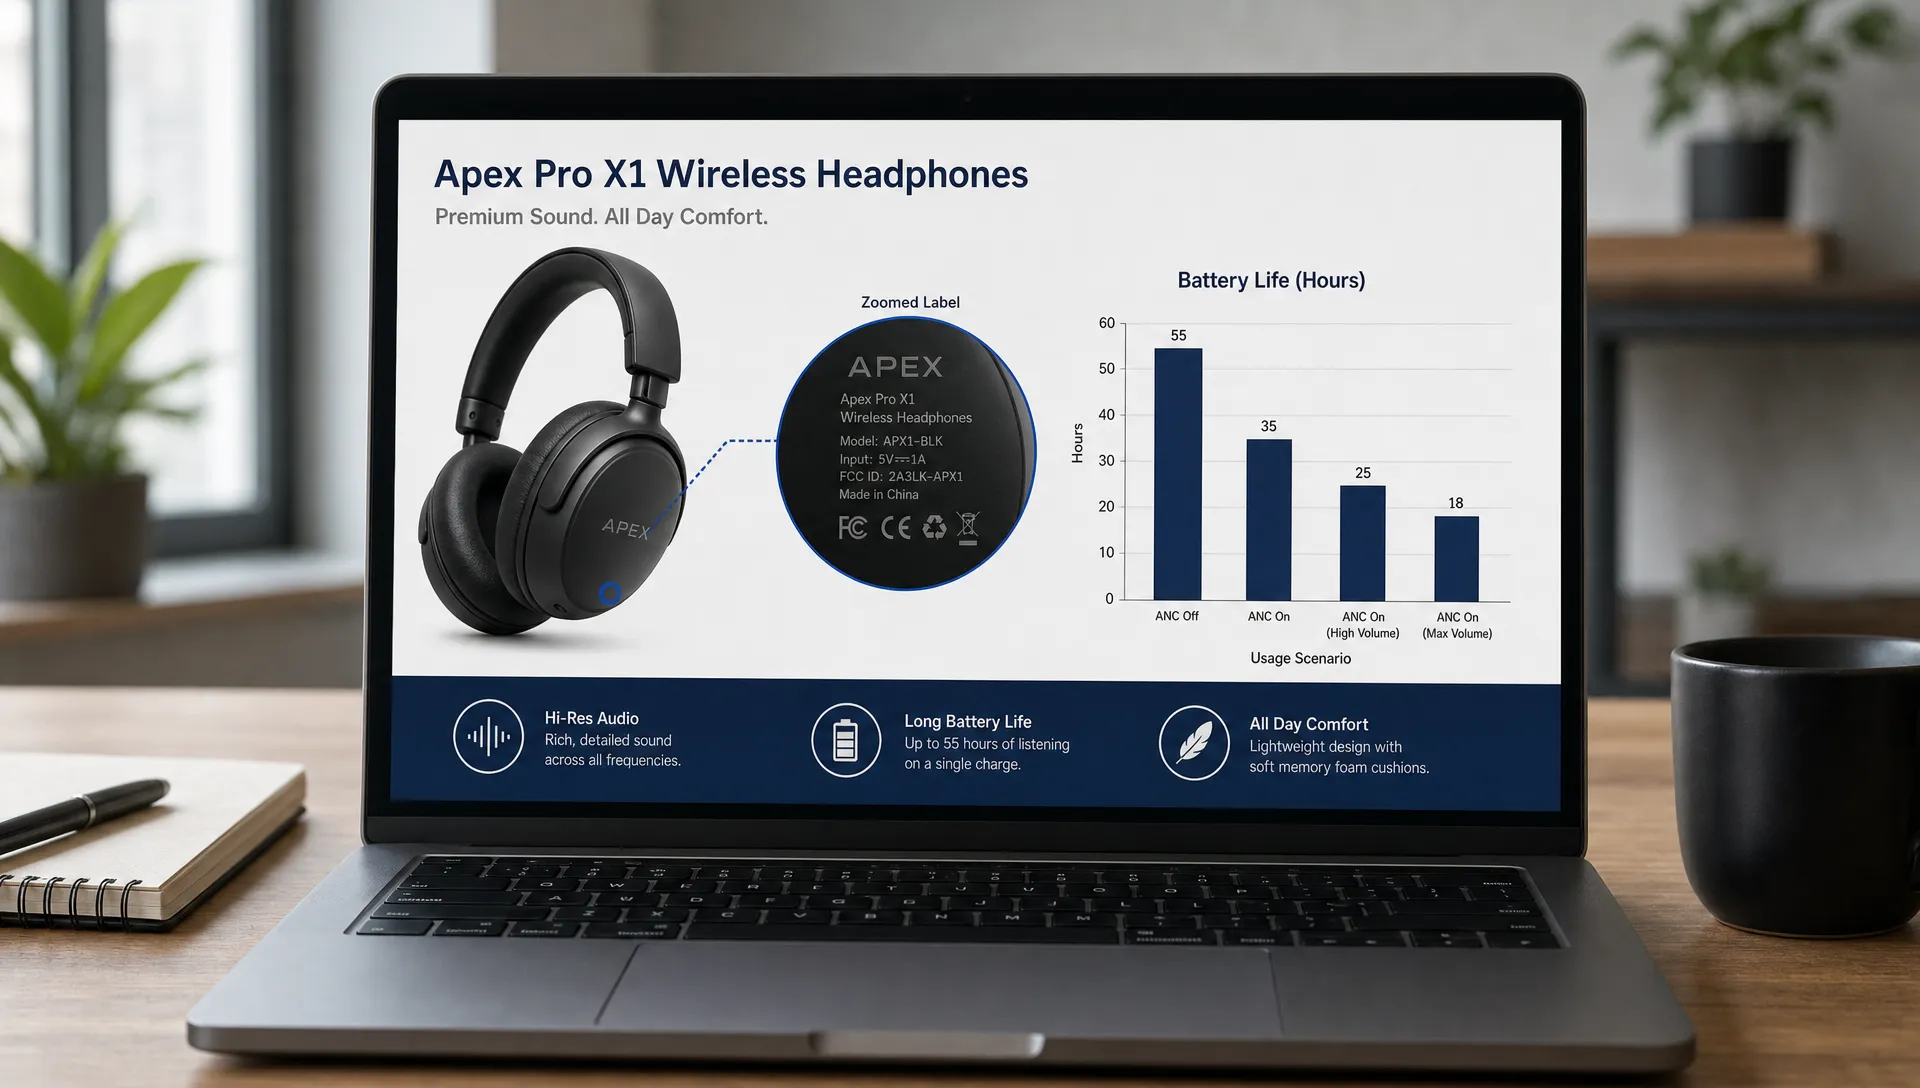
A practical workflow for readable slide images
Use this workflow when you need a clear image in a deck and the small text inside it cannot look fuzzy.
First, decide the final size of the image on the slide. A screenshot that fills half a slide needs more resolution than a small thumbnail in the corner. If the image includes text, plan for how large that text will appear to the viewer, not just how the overall image fits the layout.
Next, prepare the image outside the slide tool. Crop away irrelevant borders, but leave enough breathing room so the visual does not feel cramped. Then sharpen and upscale the image with ImageSharpen. Check the before and after view carefully. You want the text edges to look cleaner, not crunchy, outlined or artificial.
After downloading the enhanced file, insert it into your presentation as a file. Do not paste it from a compressed preview. Resize it only once if possible and keep it at or below its enhanced size. If you need a close-up of a small part of the image, create a separate crop from the enhanced file rather than zooming into the same inserted image repeatedly.
Finally, test the output. Export the deck in the format your audience will see, then open that exported file and inspect the small text at normal viewing size. If the deck will be presented live, test on a projector or external display. If it will be sent as a PDF, check the PDF on a typical laptop screen.
Common mistakes that blur small text again
Even after sharpening, a few habits can undo the improvement.
- Enlarging the enhanced image too much inside the slide.
- Taking a screenshot of the enhanced image instead of downloading it.
- Using a low-quality PDF export setting.
- Sending the deck through an app that compresses files heavily.
- Cropping so tightly that letter edges or labels get cut off.
- Using a busy slide background behind text-heavy images.
Also avoid adding heavy visual effects to images that contain text. Drop shadows, glow effects, transparency and angled perspective can make small lettering harder to read. If you need emphasis, use a simple callout box or magnified crop instead.
How to handle images that AI cannot fully fix
Sometimes the best workflow still does not make the text readable. This usually happens when the image is extremely low resolution, heavily compressed, motion-blurred or photographed from a bad angle.
When that happens, do not keep sharpening the same file over and over. Repeated enhancement can create false edges and make text look less trustworthy. Instead, look for a higher quality original, recreate the important labels manually or redesign the slide so the image does not need to carry all the information.
For a deeper explanation of the limits, see why AI cannot clear every blurry image. It is better to know when an image can be improved and when it needs to be replaced, especially for client decks, sales materials and academic presentations.
Final checklist before you present
Before you send or present the deck, review these points:
- The image was enhanced before being inserted into the slide.
- The enhanced file was inserted directly, not copied from a preview.
- The image was not enlarged beyond its usable resolution.
- Small text is readable at the final slide size.
- The exported PDF or presentation file still looks sharp.
- Any critical text has been recreated as editable slide text if needed.
This checklist takes less than a minute, but it can save a deck from looking rushed or unprofessional.
Frequently Asked Questions
What is the best file format for text-heavy slide images? PNG is usually a strong choice for screenshots, charts and interface images because it preserves crisp edges well. JPG can work for photos, but heavy JPG compression may create artifacts around small text.
Can I clear up an image after it is already in PowerPoint or Google Slides? You can, but it is usually better to enhance the original file outside the slide app, then replace the blurry version in the deck. This prevents the slide software from scaling or compressing the weak image first.
Will AI sharpening make tiny unreadable text readable? It depends on how much information exists in the original. AI can improve soft edges and boost resolution, but it may not recover accurate letters from extremely tiny, smeared or motion-blurred text.
Should I upscale an image before or after adding it to slides? Upscale before adding it to the slide. Then insert the enhanced image and resize it down if needed. Avoid enlarging it inside the slide tool.
Why does my slide image look sharp on my computer but blurry after export? The export settings may be compressing images or reducing resolution. Check your PDF, image or video export options and review the final exported file, not only the editing view.
Clear up slide images in seconds
If your deck depends on screenshots, product visuals, charts or photos with small details, clean up the image before you place it on the slide. With ImageSharpen, you can upload a JPG, PNG or WEBP file, sharpen it with AI, preview the result and download a clearer version directly in your browser.
Use it before your next pitch deck, class presentation, client report or sales slide so small text stays readable and your visuals look intentional.