
Blurry photos used to mean opening a heavy editing app, learning unfamiliar sliders or paying for software you might use once. Today, you can unblur an image for free directly in your browser, even from a phone, without installing anything.
The key is knowing what online AI sharpening can fix, what it cannot fully recover and how to prepare the image so the tool has the best possible file to work with. This guide walks you through a practical no-download workflow using ImageSharpen, plus a few quality checks that help you avoid an over-processed result.
Can a blurry image really be fixed without software?
Yes, many blurry images can be improved without downloading software. A browser-based AI image sharpener can analyze edges, textures and contrast patterns, then enhance detail so the photo looks clearer. This works especially well when the image is slightly out of focus, softened by compression or too low in resolution for its intended use.
That said, unblurring is not magic. If a face is completely smeared by fast motion or a sign is so blurred that the letters are unreadable, no tool can reliably recreate exact information that was never captured. The best results happen when there is still some real detail in the file, even if it looks soft at first glance.
A good way to think about it is simple: AI sharpening can make existing detail easier to see and can improve the appearance of missing texture, but it should not be treated as forensic recovery. For everyday photos, product images, screenshots, scanned images and social media pictures, that is usually enough to make the image more usable.
What you need before you start
You do not need a paid editor, an app store download or a design background. To use a free online workflow, you only need the image file and a modern browser. ImageSharpen supports common formats including JPG, PNG and WEBP, so most photos from phones, cameras, websites and messaging apps are compatible.
For best results, start with the highest-quality version you have. The original photo from your phone camera is better than a screenshot of the photo. A file saved directly from your camera roll is usually better than one forwarded through a messaging app, because many apps compress images to reduce file size.
ImageSharpen allows uploads up to 20MB, which is enough for many phone photos and web graphics. If your file is larger, export a copy at a high quality setting rather than repeatedly shrinking and re-saving it.
How to unblur an image for free in your browser
The fastest method is to use a browser-based tool that handles the enhancement automatically. Here is a clean workflow you can follow on desktop or mobile.
- Open the online sharpener: Go to the free AI image sharpener in your browser. There is no software to install and no account setup required.
- Upload your blurry image: Choose a JPG, PNG or WEBP file from your device. If you have several versions, upload the largest and least-compressed one.
- Let the AI process the image: ImageSharpen enhances clarity and can boost resolution up to 4x, with processing designed to finish in seconds for typical images.
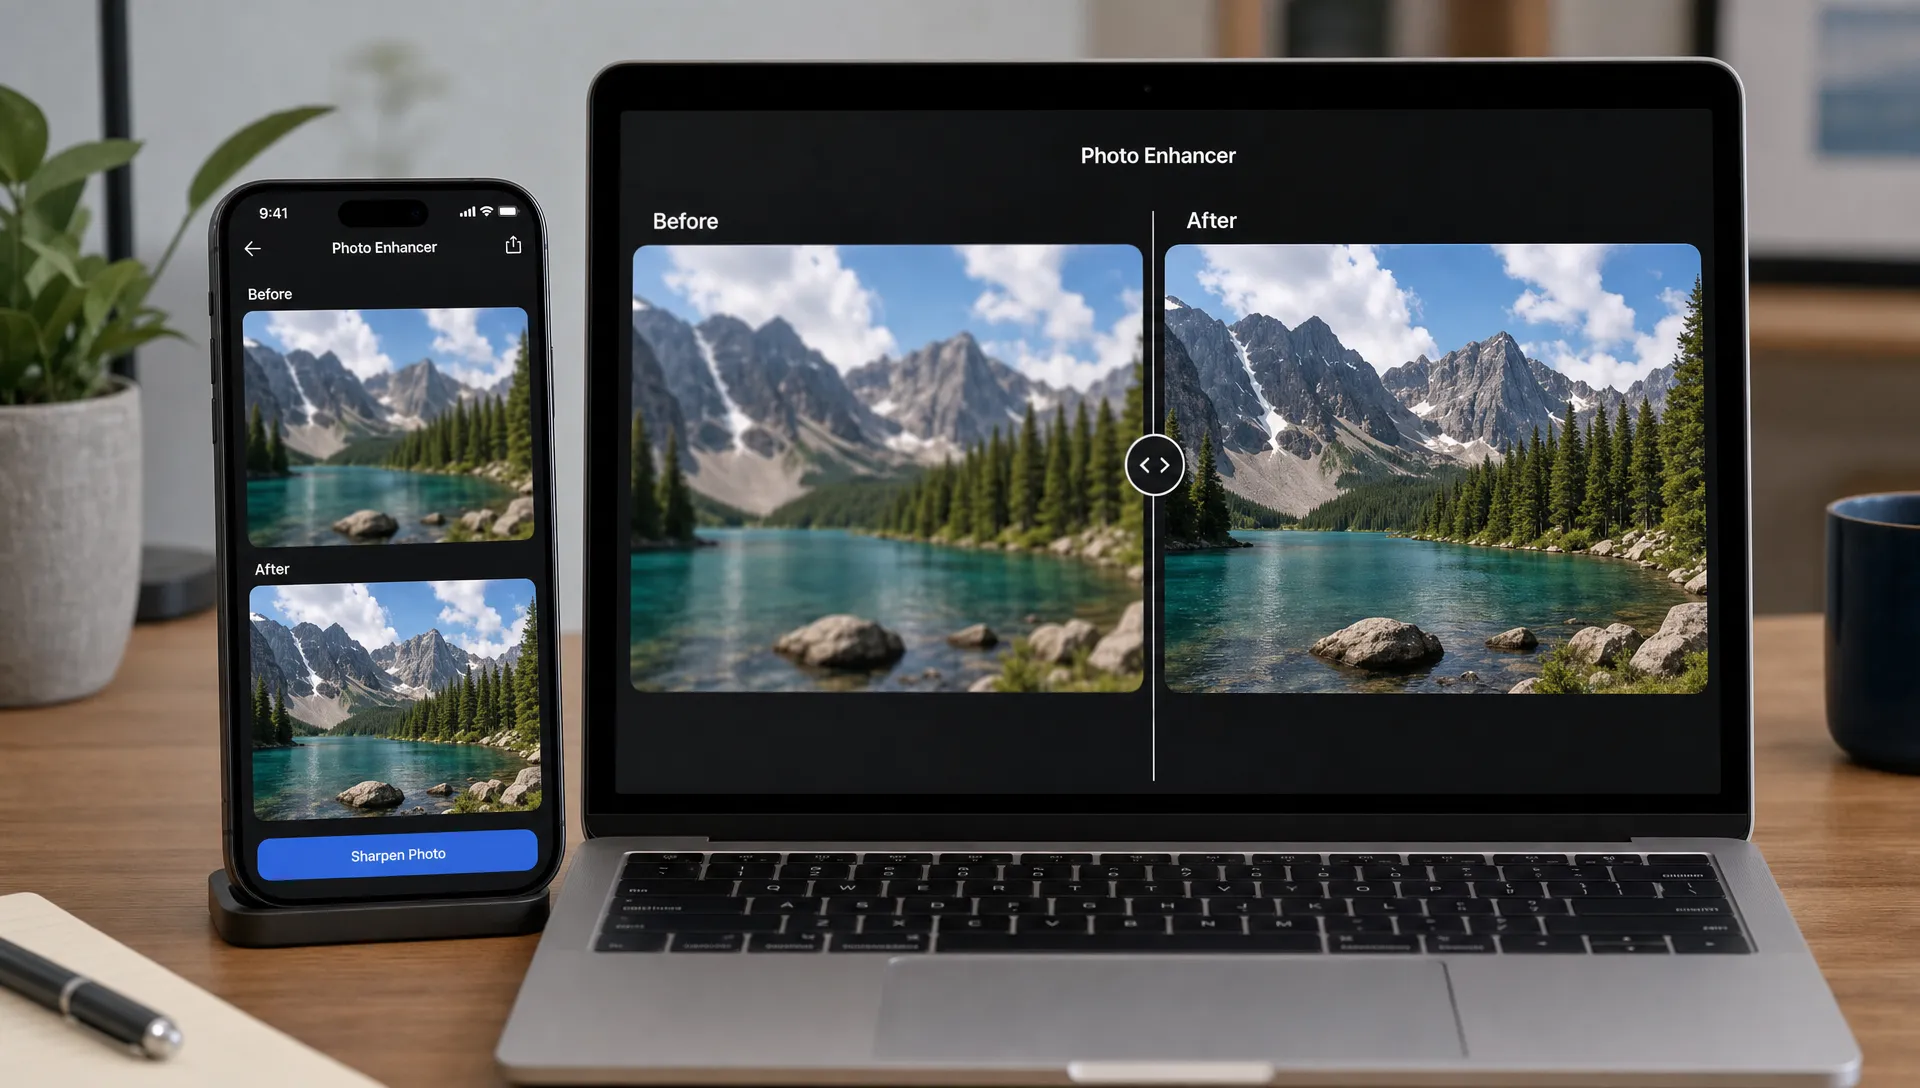
- Check the before and after preview: Compare the original with the enhanced version before downloading. Look at faces, text, edges and background texture rather than judging only the overall image.
- Download the improved file: Save the sharpened image in high quality. If you plan to post it online, download first, then crop or resize afterward if needed.
- Try a different source file if needed: If the result still looks soft, test the original camera file or a less-compressed version. Source quality matters more than most people expect.
This workflow is useful when you want to unblur image free without turning a quick fix into a full editing project. If your main goal is sharpening rather than recovering blur, you may also want to compare the process with this guide to sharpening an image online for free.
Which blurry images improve the most?
Different kinds of blur respond differently to AI enhancement. Before you spend time trying multiple edits, identify what kind of blur you are dealing with.
| Image problem | What it looks like | Likely improvement | Best upload move |
|---|---|---|---|
| Slight focus blur | Edges look soft but shapes are clear | Often strong | Use the original photo file |
| Mild camera shake | Whole image looks a little smeared | Moderate to strong | Pick the least shaky frame if you have several |
| Low-resolution image | Small image looks pixelated when enlarged | Often strong with upscaling | Upload the largest available version |
| Compression blur | Details look blocky or muddy | Moderate | Avoid files re-saved through messaging apps |
| Blurry screenshot | Text and UI edges look fuzzy | Moderate to strong | Use the original screenshot, not a resized copy |
| Severe motion blur | Subject is stretched or unreadable | Limited | Look for another frame or source image |
If you are working with a screen capture, text can need a slightly different approach than a camera photo. For that use case, the guide to sharpening a blurry screenshot covers screenshot-specific causes like display scaling, browser zoom and low-resolution exports.
How to get a clearer result before you upload
Online AI tools work best when you feed them the cleanest file available. A few small choices before uploading can make the final image look much sharper.
Start by locating the original. On a phone, this usually means opening the camera roll rather than saving the image from a chat thread. On a computer, check whether you have the full-size download instead of a thumbnail or preview image. If the image came from a website, avoid right-clicking a tiny displayed version when a larger original is available.
Avoid stacking edits. If you brighten, resize, crop, sharpen and re-save a JPG several times, each export can remove detail. Upload the closest-to-original version first, then make final crops or size changes after the AI enhancement.
Also, do not zoom in too far when judging the result. A photo can look excellent at normal viewing size but imperfect at 400 percent zoom. Judge the image at the size you actually plan to use it, such as a profile photo, listing image, presentation slide or printed reference.
Here are a few simple checks before uploading:
- Use the original photo or screenshot when possible.
- Avoid screenshots of photos, since they usually reduce quality.
- Upload before adding filters, stickers or text overlays.
- Keep the file in JPG, PNG or WEBP format.
- If the first result looks too intense, try a cleaner source image rather than editing the enhanced version again.
How AI unblurring differs from old sharpening filters
Traditional sharpening filters mostly increase contrast around edges. That can make an image look crisper, but it can also create halos, crunchy textures or harsh outlines if pushed too far. Older tools often require manual settings like radius, amount and threshold, which can be confusing if you only want a clearer photo.
AI unblurring is more automated. Instead of only boosting edge contrast, it evaluates visual patterns and predicts a sharper version of the image. That can help with soft details, low-quality web images and photos that need both sharpening and resolution improvement.
This is why an AI workflow is useful for non-designers. You do not need to understand every technical control to get a good result. You upload, preview and download. If your image needs broader cleanup beyond blur, such as general clarity and quality improvement, this guide on how to improve image quality online without Photoshop may be a better fit.
Common mistakes that make an unblurred image look worse
The biggest mistake is using a poor source file when a better one exists. A compressed image from a social app may already have lost fine texture, so the AI has less to work with. Always check your camera roll, cloud storage or original download folder first.
Another mistake is over-editing after enhancement. If you sharpen an image with AI, then sharpen it again in another app, the edges may become unnatural. Skin can start to look rough, small text can look jagged and backgrounds can develop noise. One good enhancement is usually better than several aggressive ones.
Cropping too early can also hurt quality. If you crop a small part of an already blurry photo, the remaining file may not contain enough pixels for a clean result. When possible, upload the full image first, download the enhanced version, then crop the final file.
Finally, do not judge a photo only by the center. Check corners, hair, eyes, product edges, text and repeating patterns like fabric or brick. These areas reveal whether the image looks naturally sharper or artificially processed.
When a free online tool is better than downloading software
Downloading software makes sense for professional editing workflows, batch processing or advanced retouching. For a single blurry photo, it is often unnecessary. A free online tool is faster when you need a clear image now and do not want to install a large program, create an account or learn a complex editor.
| Option | Best for | Setup required | Skill level | Main limitation |
|---|---|---|---|---|
| Free online AI sharpener | Quick photo fixes, screenshots, social images and low-quality pictures | Browser only | Beginner-friendly | Results depend on source quality |
| Desktop photo editor | Detailed manual editing and advanced creative control | Software install | Moderate to advanced | Takes longer to learn |
| Mobile editing app | Casual phone edits and filters | App install | Beginner to moderate | Often adds extra steps or account prompts |
The browser option is especially convenient when you are on a shared computer, Chromebook, work device or phone with limited storage. Since ImageSharpen runs online and supports mobile browsers, you can use it without changing your device setup.
Practical use cases for free image unblurring
A no-download image unblur tool can help in many everyday situations. You might need a sharper profile photo, a clearer listing image, a cleaner screenshot for documentation or a better version of an old picture that was saved at low quality.
For ecommerce and marketplace sellers, clarity affects trust. A slightly blurry product image can make an item look less reliable, even if the product itself is fine. For students and office workers, clearer screenshots can make instructions, charts and interface details easier to read. For personal photos, a small improvement can be enough to make an image worth sharing or printing.
The same rule applies across all of these cases: use AI sharpening to improve clarity, then keep the final edit natural. The goal is not to make the image look artificially sharp. The goal is to make the subject easier to see.
Frequently Asked Questions
Can I unblur an image for free without downloading anything? Yes. You can use ImageSharpen in your browser to upload a blurry JPG, PNG or WEBP image, preview the improvement and download the enhanced result without installing software or signing up.
Will AI unblurring work on every photo? No. It works best on mild blur, soft focus, compression blur and low-resolution images. Severe motion blur or completely unreadable detail may only improve slightly because the original information is not clear enough.
Does unblurring also increase image resolution? It can. ImageSharpen can boost resolution up to 4x while sharpening the image, which is useful when a picture looks both small and soft.
Is it better to sharpen before or after cropping? In most cases, sharpen before cropping. Uploading the full image gives the AI more image data to work with, then you can crop the enhanced version for your final use.
What file types can I upload? ImageSharpen supports JPG, PNG and WEBP files up to 20MB, which covers most common photos, screenshots and web images.
Unblur your image without installing software
If you need a clearer photo right now, use the simplest workflow: upload the best source file you have, let the AI sharpen and upscale it, compare the before and after preview, then download the improved image.
You can start with ImageSharpen for free in your browser. No signup, no software install and no complicated editing controls, just a fast way to unblur photos online and save a sharper version.